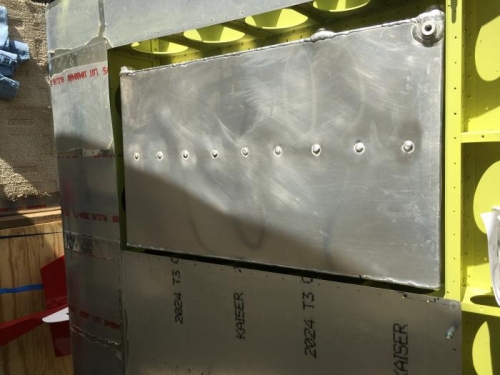
I started the installation of the fuel tank. I positioned the tank using to locate the filler neck. Then I used a 2” hole saw to cut a hole for the location of the filler neck. It’s always a bit nerve racking cutting the hole in the upper skin.
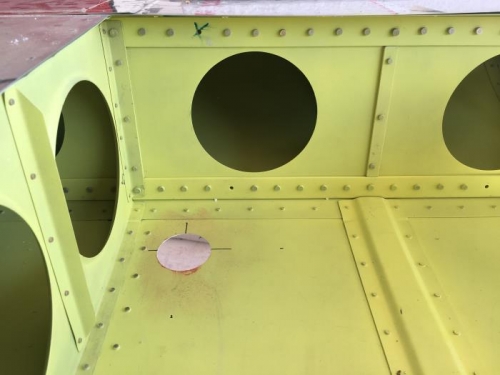
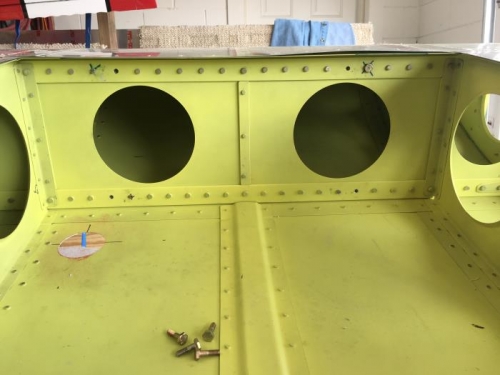
Next was to drill and ream the AN3 holes in the spars for the fuel straps. I ran into a head scratching moment when it seemed to me that the locations without rivets for the straps were wrong. I sent a photo to Mark and he right away confirmed that the early kits had been mismarked. Since I have an early kit mine is affected. No big deal I just had to drill out the rivets in the correct location then rivet the other holes. I was able to rivet 3 of the 4 holes with AD5-8 rivets. It’s a little difficult to get to the leading edge side of the spar so one hole I reamed for an AN3 bolt. It would have been acceptable to use AN3 bolts for all 4 holes but I wanted to rivet them if I could. For the rear spar I had to relocate 2 holes. That was a lot easier because it was more accessible and the smaller rivets were easy to set with the rivet squeezer.