I decided to jump into volume 3 of the builder’s manuals. I still have a couple things to do in the last volume, 1) shock struts 2) wing attach fittings. The last chapter of volume 2 is the wing attach fittings but I'm going to wait until all the other welding is done before I weld them on. I've got all the parts for the LG shock struts I just need to tap the end of the piston shaft. I prefer to have it machine taped and not hand taped so I think I'll find a machine shop to do it.
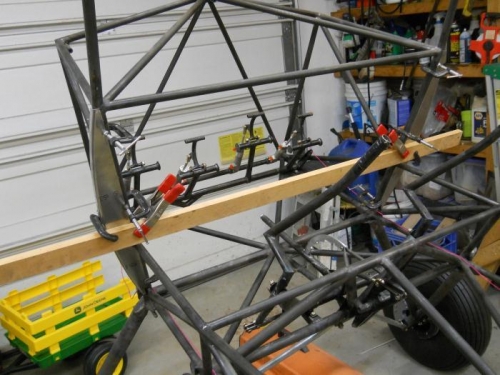
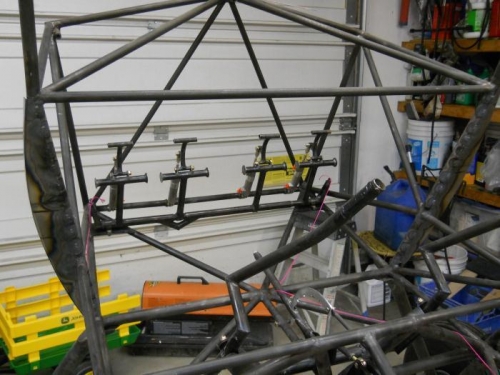
So it’s on to the door flanges. I made the front flanges and welded them to the frame. In the plans it looks like the flange runs past the horizontal tube at station B-P. It seems it really should stop at the window frame since the window frame is flat whereas the door is curved to match the flange. I have the fuselage photo set that Mike Meador used to sell and I can see that Bob stopped the flange at the bottom of the window frame (or more correctly the top of the door) so that's what I did.
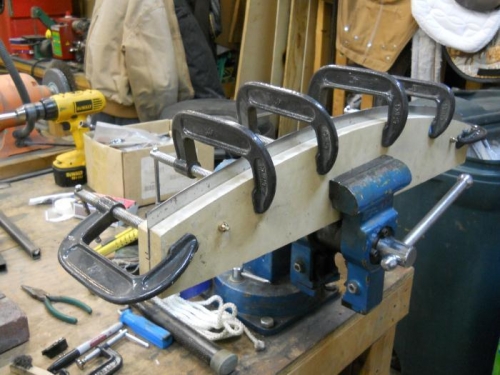
I actually scraped my first flange because I made it as shown in the plans before I figured out that wasn't correct. I had to remake the form blocks which took more time. For tacking the flanges to the frame I found it easiest to have both clamped in position at the same time with a straight edge spanned the width to keep them aligned.