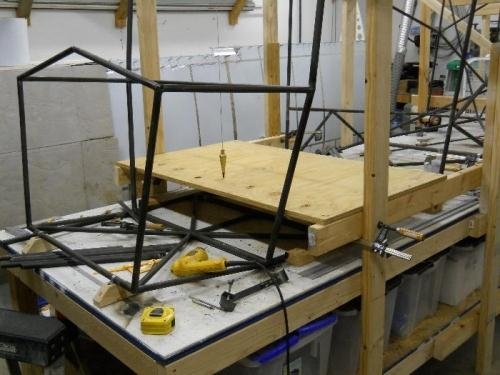
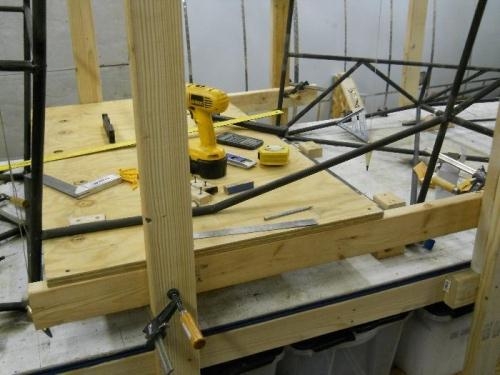
"The door sills are a little tricky because there's a couple different angles going on. Paul had a great idea on how to tackle positioning them and I expanded a little on his idea. Paul jigged everything into place with some cross forms. I decided to fit a piece of 3/4"" plywood in the same position and make a level layout table.
With the temporary plywood table in position I dropped a plumb bob off the top frame and marked a center line on the layout table. Then I laid out the position for the 15"" section of the door sill which is level on the table. With a reference point I was able to estimate the angle up to attach point at station D-N. I cut a tube to 42"" and make a reference line at 16"" where the dog leg is. I cut a 16 degree ""piece of pie"" at the 16"" mark which then allowed the dog leg to be bent for positioning the tube for locating the fish mouth cuts at both ends.
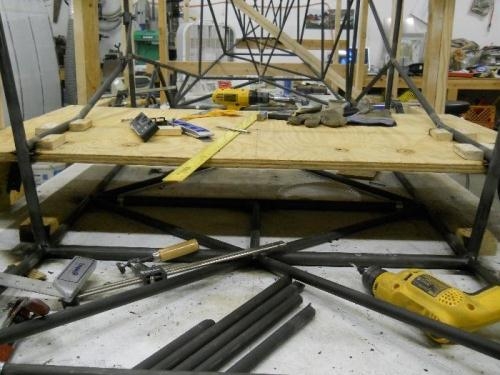
With the fish mouth cuts and the tube fit in final position I tacked the dog leg with the tube clamped in position. With the tube tacked I pulled it back out and made the complete weld at the dog leg. With the tube back in position and clamped and checked the door sill for level then tack the ends to their respective station.
This method worked very well and avoided having to fit and check everything while suspended in air."