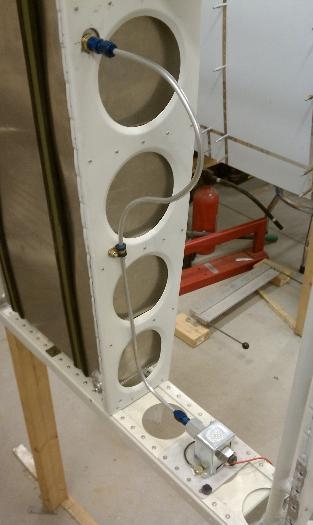
Brief Description: Aux tank line, holes in skins for filler neck
Today was a productive day. First I worked some more with the aux tank and moved it forward a little to give it a little more clearance with a little wider wing cord. I located and drilled a hole for the aux tank outlet line then installed the line to the pump. Then using a step drill bit I drilled a 13/32" hole in the ribs for the 1/4" fuel line. Andrea was hanging out in the shop with me so she installed the grommets then helped me run the line.
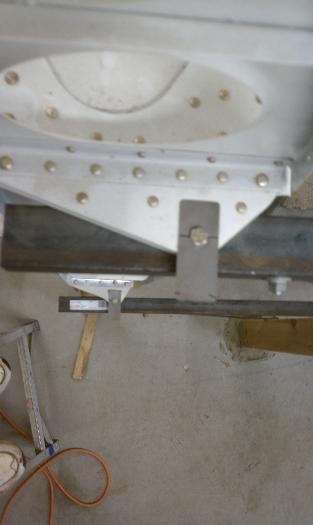
Next I was going to install the skins to mark the filler necks so I needed to square up the wing. I'm sure someone's thought of this before but I figured out a better way to level up the wing bolts. I made a couple 2" extensions out of some scrap 1" wide strap and bolted it on each wing bolt. Now I can just place a level against the extension and check for level.
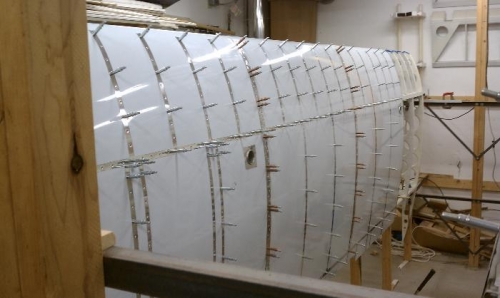
After leveling the wing I started installing the skins. I marked the main tank filler neck then removed the skin again. I didn't use a hole saw to drill the filler neck holes in the other wing because it made me too nervous. Most everyone uses a hole saw and I haven't heard of anyone tearing up a skin so I decided to give it a try. Using a 2" hole saw and a hand drill I cut the hole for the filler neck - it worked real well. Much easier then cutting and filing the hole like I did on the other wing. I reinstalled the skin and worked my way down to the aux tank and did the same with it.
The right wing is now almost caught up with the left wing. It's good to see the skins back on again.