I took an unintended break from Bearhawk building. Family time got in the way of Bearhawk building :-)... We've been having fun! Time to get back to Bearhawk building...
I have spent some time over the last few months trying to get a grasp on how the seats are installed. I have the Avipro seats that come with some basic hardware but no directions. There is some guidance in Eric's builders manual but the hardware I have is a little different than what he had. So between looking over photos of the fuselage built by Avipro and Eric’s info I kind of have a general idea of what to do.
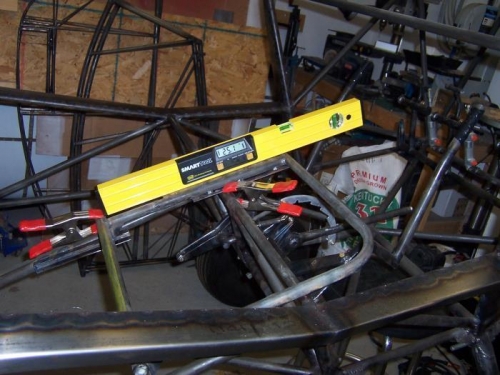
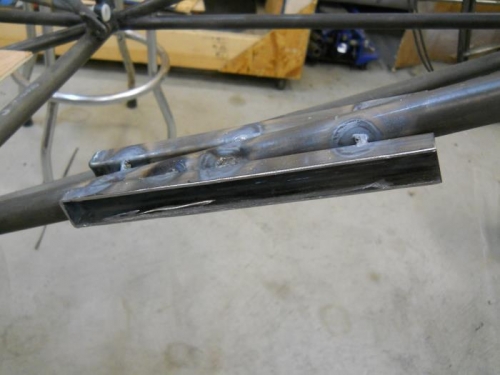
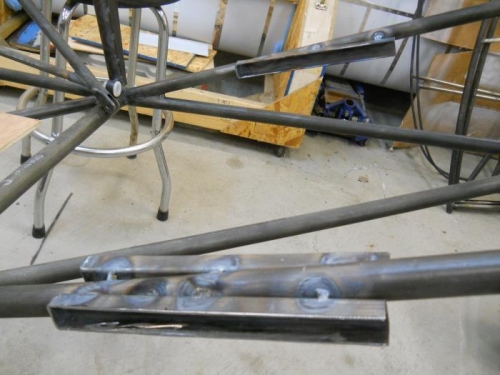
I made the seat slides first out of 4130 square tubing .058 x 3/4" cutting the face off one side to make a "U' shape like shown in the Eric's manual. There's no guidance on how long these pieces are or how far back the seat should slide. I made these pieces 8" long and set their most aft position with the seat frame front even with station "S". I tacked the seat slide chanels into position. I was scratching my head trying to figure out at what angle to set them at so I slide the seat back and forth with a digital level and adjusted it until the angle remained the same. I was actually way over thinking it because all I really needed to do is set the tracks parallel to the seat frame.