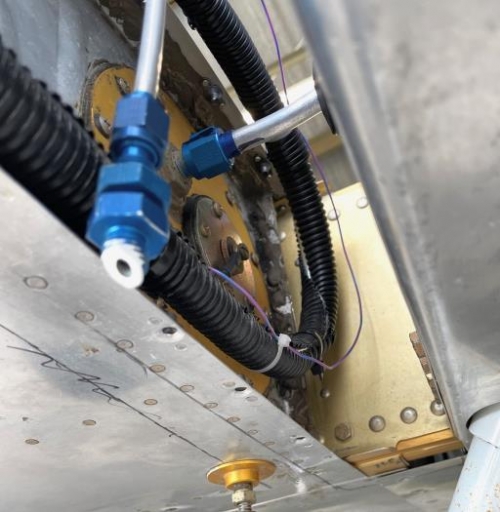
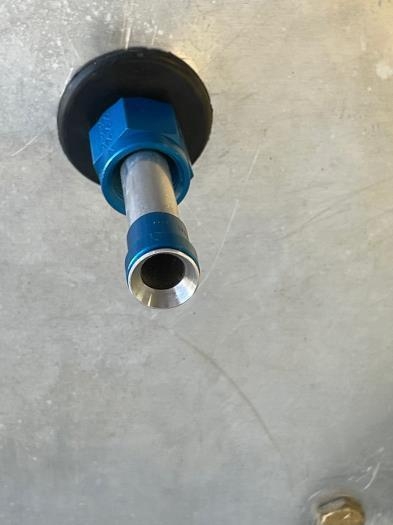
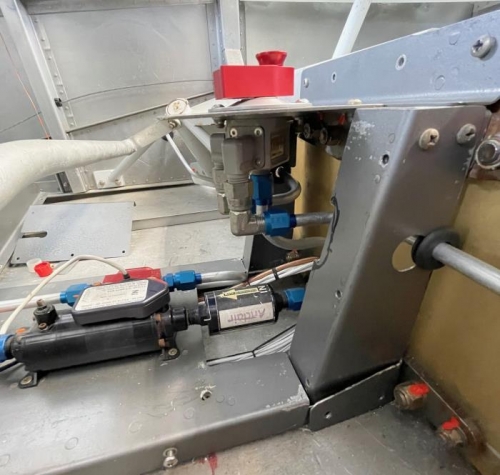
I flared the left side line and put on the tank. The line needed to lower about 1/2 inch for a straight in flare nut connection. I already had this tank off and on a couple times for other work and I wanted to see how difficult it would be to remove and reinstall the two rubber grommets through the 1 inch hole in the fuselage with the fuel line already in place. The grommets were easy enough to collapse through the hole, letting the fuel line be extracted with the B nut and flare in place. I used the tube bender to add slightly more down curve and then reattached the tank. Without the grommets in place, the line attached perfectly to the tank and had the slightest rise to the fuselage hole. I boelubed the outer grommet and worked 10 minutes pressuring it in place. The inside grommet was harder because there's less working room. However, with lube, it went back in place. Also, for connection at the fuel selector, thinking about the future, I slotted the rear side of the hole through the metalwork to allow the line to be extracted without having to disconnect everything else first. I'm almost ready to tighten all the B nuts under the selector so I can continue with testing the lines.
Coiled fuel vent line exiting through the lower wing gap fairing.