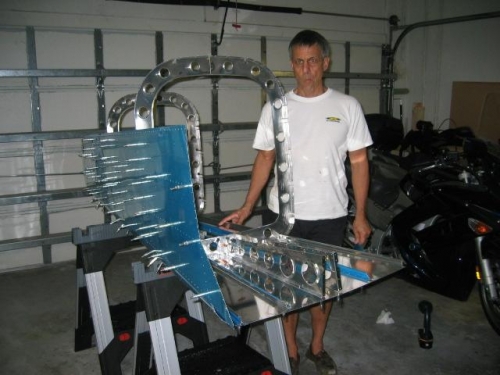
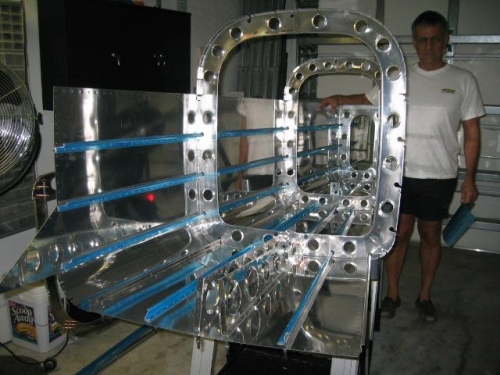
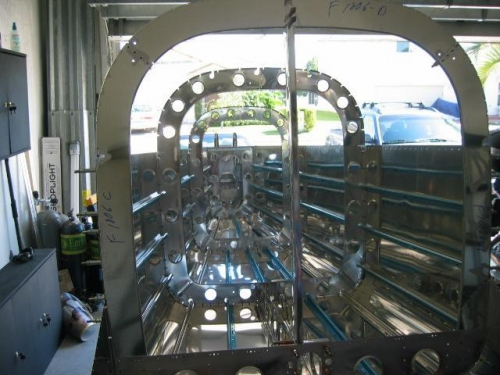
Now the tailcone with bottom and one side is flipped over so the rest can be assembled. Picture 1 shows the upright tailcone. 2 shows the various frames. The blue lines are stiffeners that the skin rivets to. The blue stuff is vinyl that will be removed. It keeps the aluminum from getting scratched. 3. Shows all frames in place and both side skins attached. More braces and a top skin will be attached.
THEN, take it all apart for the aforementioned deburring, cleaning, priming, etc before reassembly