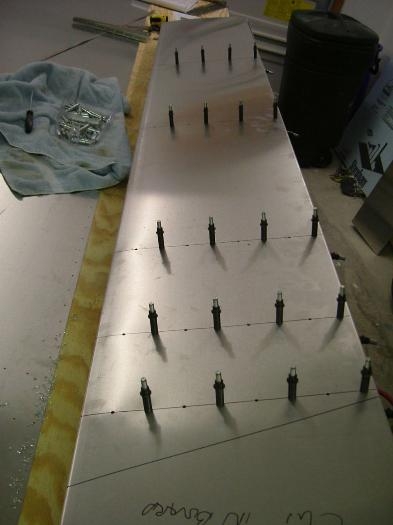
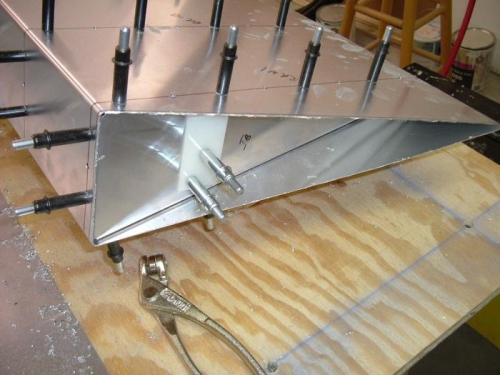
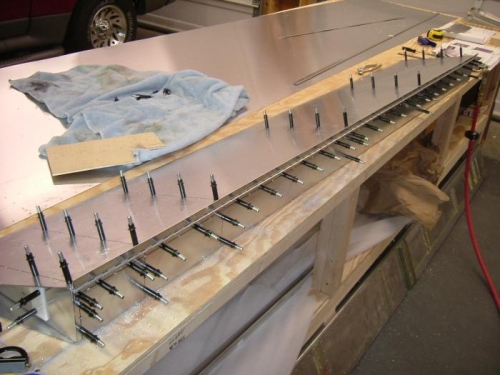
Today I continued working on the right wing flap. I continued back drilling the bottom of the flap skin to the ribs. Next I drilled the rivet holes to the finished size. I then cut the flap skin to length and installed the nylon flap bushing. Finally I laid out the rivet location on the flap hinge and cut it to length. After predrilling the hinge, I lined it up on the flap and drilled and clecoed the flap hinge into position. The right flap is ready to be deburred and have corrision protection applied.
Finishing back drilling the Right Flap Skin
Right Flap Cut to Lenght and Installing the Nylon Bushing