Brief Description: That's Right, Disassemble the L-Tank!!!
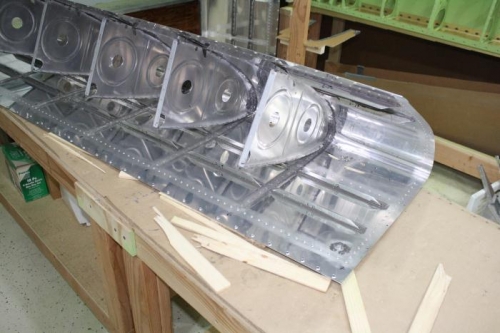
18-5: No Step: Jumping Jehosaphat, what was the poor misguided builder thinking??? Nothing apparently. Seems the Right Tank inner ribs found their way into the Left Tank and after all was said and done, couldn't leave it that way since the rear bulkhead did not align well enough with the orphan ribs. Tear down the Wall!!! Thanks to some useful wooden door jam wedges, and obviously after drilling out all rib rivets, the Ribs were sliced from the skins by pushing the wedges against the skins while gently pulling the skin away. I had sliced the outer seams of the fillets with xacto knife I spend so much time making sure were perfect to aid the release. Worked like a champ. Now just need to do some clean-up and make sure I can tell my right from my left (there was plenty of evidence a few days back and you can see pictures of the right ribs in the left skin but no one noticed until today). Character building, I say. It's not what you fail at, its how you handle it. Never give up! I did this once with the Tail Cone stiffeners (top on bottom until half way through riveting when I noticed it wasn't aligning so well) and I only hope this is the worst screw-up I make on this build. Life is grand. Faster and funnier.
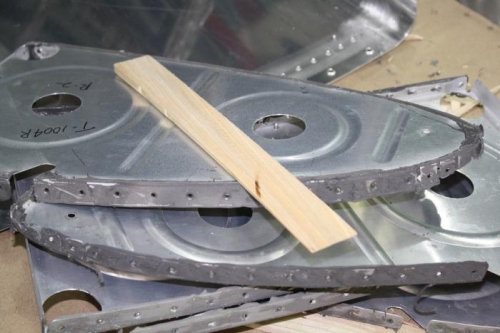
Reverse order, bottoms loose.
These wooden wedges worked well to separate the pieces. I used about 15 during the disassembly.
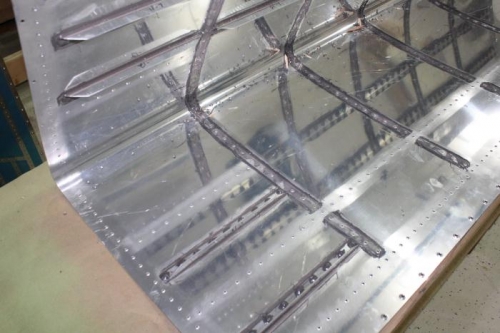
There you go. Now just need to clean-up and restraighten the rib flanges.