
|

|
|
|
Bird
|
Date: 5-14-2011
|
Number of Hours: 8.00
|
Manual Reference: Pg.7-6,7 Dwg. 16A
|
Brief Description: begin sealing
|
|
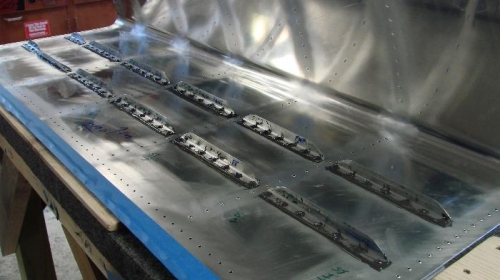
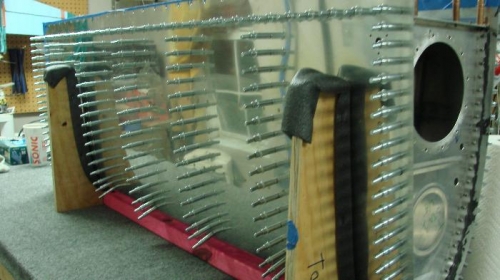
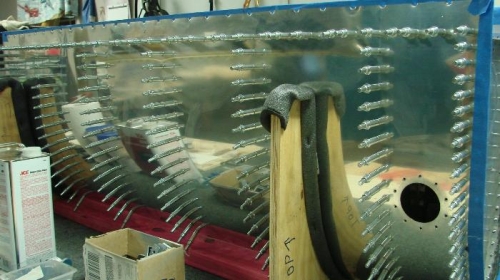
Organized all the tank parts and sealant tools, using the semco tank sealant dispenser. Got a new scale for better accuracy, my old scale only went down to one decimal, the new one goes two decimal points so I should have better accuracy for mixing the sealant. I decided to use the flamemaster sealant and use the "faying" type process for sealing. After a second cleaning and soaking the rivets in MEK then letting them dry on a paper towel, I applied sealant and backriveted the stiffeners in L/H tank. Applied sealant to skin and ribs and clecoed them in place. I put a cleco in every hole. Put a good filet of sealant to all ribs and stiffeners. After sealant sets up for about 24-48 hours, I will remove every other cleco, one at a time, and begin riveting the ribs. Also for the overnight setting, I temporarily clecoed the rear baffle in place. This should help hold pressure on the skin to the ribs, and help keep everything straight and lined up. I also covered the #8 screw holes with tape to help prevent sealant setting up in areas that it shouldn't. I find this is an easier way to do the sealing instead of trying to rivet at the same time I am installing the sealant. This helps keep me from taking a bath in sealant :}. When I go to set the rivets I will use a q-tip and put some sealant in each of the dimples and rivet the rivets in wet.
|
|
|
|
I'll be sleeping while sealant gets tack free!
|
|
|
|
|
|
|
|
|
|
|
Copyright © 2001-2024 Matronics. All Rights Reserved.
|