Brief Description: More rib deburring, drilling conduit holes and str
Long day in the shop today...the only problem is I seemed to get involved in other projects at the same time out of 6 hours 4.5 was on the plane.
I figured I would deburr all of the main ribs for the Left wing to the point of getting them clecoed onto the spars so I dont get everything mixed up. SSSSOOOOO....I separated all the ribs with a "L" at the end and was able to finish all the deburring. I thought I would make sure to study the plans to make sure I wasnt missing something. (very important to look at the plans alot !) Well L doesnt mean Left rib it mean which way the flange points. I found that ther are L and R on each wing......Off to do more Deburring!!!!
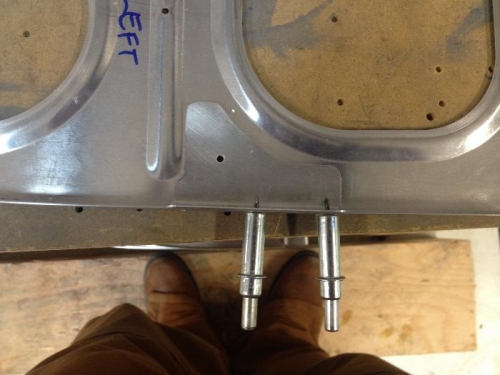
Once I cought up with myseld I drilled out the 3/4 Hole and drill a #30 pilot hole that I would enlarge to 3/4" with a unibit. The one thing I noticed is....the Jig only fit the ribs with the letter R. So I just did all those ribs and then put the R and L ribs back to back and matched drilled the pilot holes. Next I drilled out the top and bottom tooling holes to 3/8" to accomodate the safeair pitot kit. Deburred all of the holes and then used the Rib Flange tool to straighten the flanges.......This Flange tool is worth the time it takes to build it!!!!!!
I decided to follow Brent Owens advice and flute the ribs in front of the TV!!!
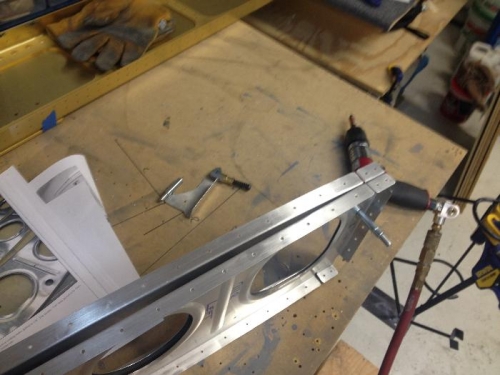
Small jig to mark the pilot hole for the 3/4" hole to follow
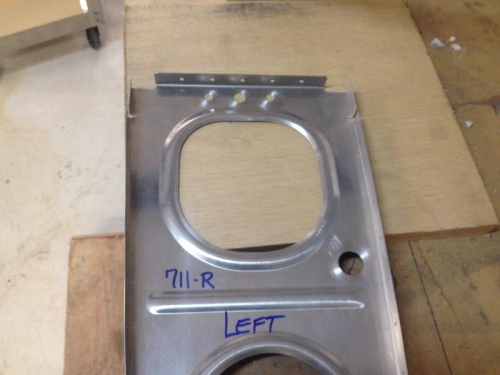
Ribs set back to back to drill the pilot holes for the conduit