Brief Description: Fabricate and install battery contactor mount plat
See next post for additional photos.
There has been much discussion among the RANS S7 builders/flyers yahoo group regarding the lack of a contactor/solenoid on the positive side of the battery. The main positive battery cable runs from the battery in the tail of the fuselage all the way to the engine compartment and cannot be isolated or the power shut off in an emergency. Most factory planes have a contactor at the battery, and the switch controlling the power is one of the two "Master" switches (the other being for the alternator field).
I was referred to Bill Lind, one of the S7 Guru's from north central california. Bill graciously spent what seemed to be hours over countless calls educating the chimp (me) on various components and sub-systems of the electrical system. He provided a modified wiring diagram and a complete parts list to add a master contactor to the battery. He also sent photos of his installation of the contactor in the fuselage of his S7.
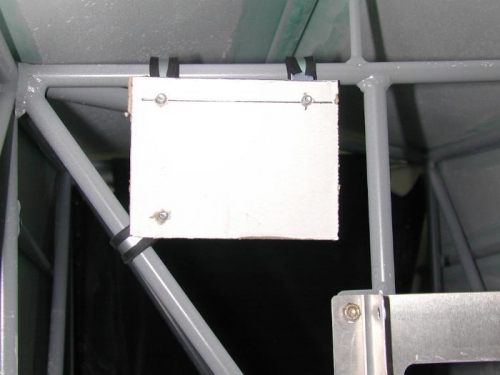
Access to the battery area of the fuselage is through a small wedge-shaped door in the side of the fuselage. The opening is just about big enough to allow me to get either one arm or my head inside, and the battery box is just about at the very extent of my reach away from the opening.
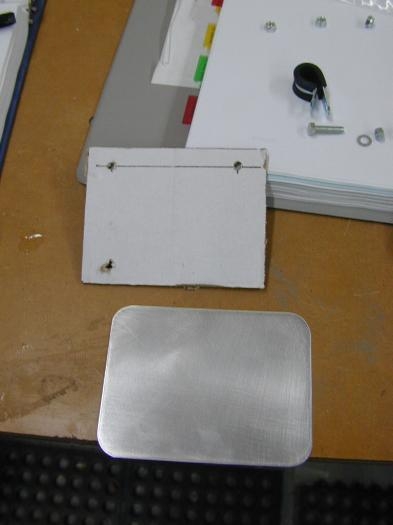
After way, way too much time trying to figure out how to bolt a mounting plate into place to hold the contactor (I'm talking hours here) I had a brain storm (well, maybe a little squall or minor front anyway) and came up with a plan. In my plan I would use three cushioned clamps on 1/2" tubular members inside the fuselage a Bill had done, but I would firmly bolt the clamps in place with long bolts, then fit a mounting plate to match the holds and clamp the plate on with a second set of nuts (nylok-nuts). The plan actually worked. The photos attached and on the following entries depict the mounting plate and the contactor in place.