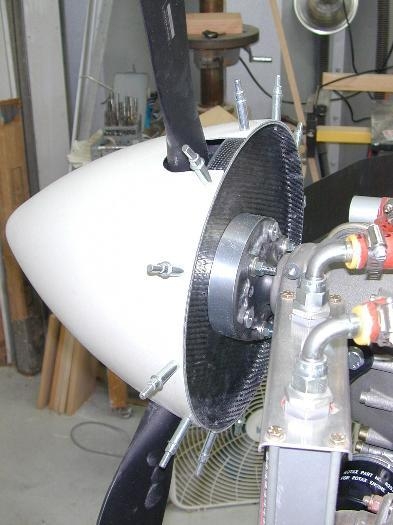
With the spinner aligned and clamped into place, a laid out the fastener locations, drilled and cleco'd the spinner to the backing plate. After re-checking the alignment, I removed the spinner, prop and backing plate assembly from the engine.
Next up is the installation of the nutplates on the backing plate. I re-cleco'd the spinner onto the backing plate on the workbench then enlarged the holes to final size, keeping the unit cleco'd together as I went.
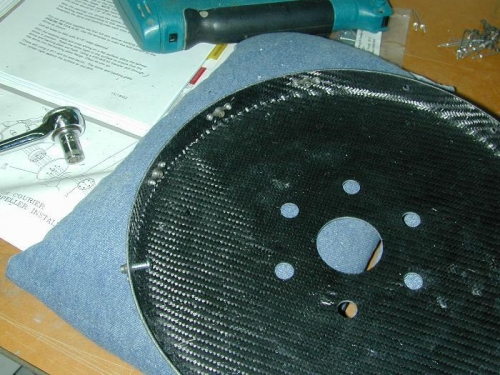
Next up I began installing the nut plates. Each plate is held in place with two aluminum pulled rivets. The rivet heads have to be countersunk and then worked flat on an anvil to allow the spinner to slide over and into place.
The photos show the spinner cleco'd onto the backing plate while on the engine, and then the backing plate with three of the nut plates installed and a fourth ready to be installed.