Brief Description: Apply labels to sub-panels and install incl breake
I had to create labels for the breakers and the breaker-switch to be installed in the sub-panels. I used the same labelmaker as I had used for the main panel.
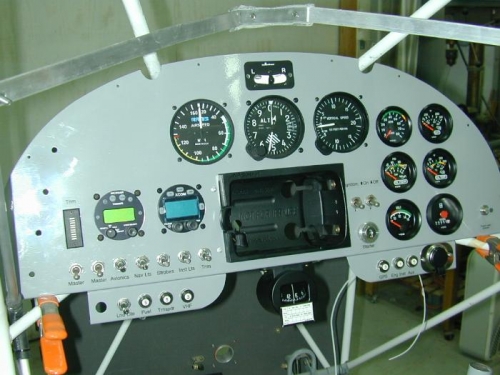
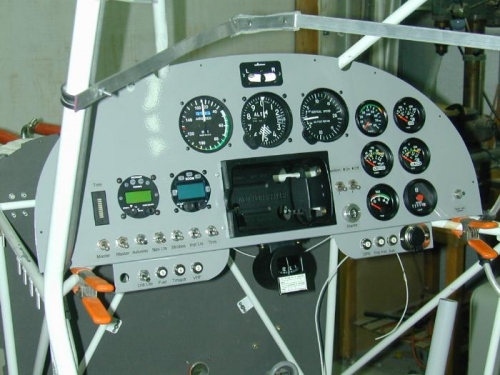
Next I installed both sub-panels on the bottom of the main panel. Everything went together as planned. I also installed the circuit breakers, the single breaker-switch and the 12v power outlet into the sub-panels, then did a trail fitting of the entire instrument panel in the plane. Photos below.
My goal in designing my own panel layout was to create a simple, logically laid-out and functional instrument panel. From a normal seated position in the front seat all of the breakers, switches and instrument controls are readily accessible without shifting seating position. All of the switches and controls normally used while in-flight are easily accessible using only your left hand, which was a second goal in my panel design. The ignition and starter switchs are on the opposite side of the panel from the choke which should allow the pilot to easily use both hands without contorting or reaching across his body, a third goal in the design (tip courtesy of Joel Milloway and others!).
Next up is the installation of the 4 cable assemblies and the bulk of the wiring work.