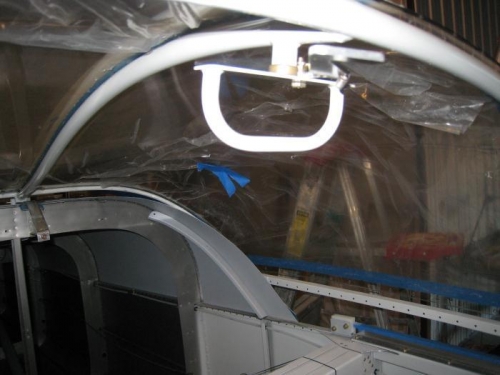
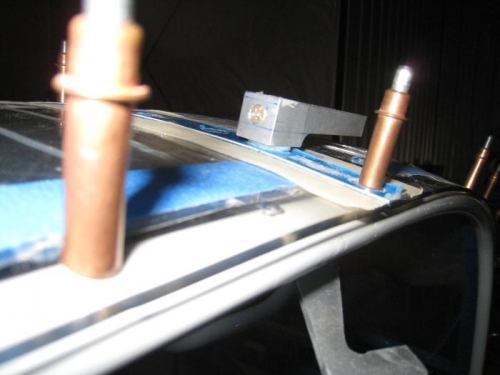
Continue working on the canopy latch. The handle shaft needed more trimming so that the C-656 handle is down close to the canopy. This is done by putting the latch assembly though the bushing on the upper front of the canopy, installing the C-671 washer and the C-656 outside handle and trimming the handle shaft untill the outside handle sits on the washer without tension. The next step is to drill (#29) and tap (8-32) for the machine screw. I marked the location of the screw on the handle. Because the handle is contoured this hole must go through the thick part of the handle. Nex I put a wise on the drill press and drilled the hole through and to the hole for the shaft, making sure that it is alligned verically and through the middle of the handle. Next I inserted the shaft and drilled in place the first hole in the shaft. Removed the assembly from the canopy and drilled the hole to its final depth using a clamp to hold everything together. Next disassemble everything and drill #18 through the front part of the handle and the steel tube. Tap the back part of the handle hole 8-32. Install the canopy latch.