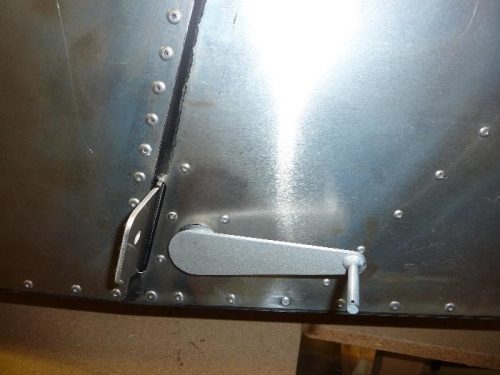
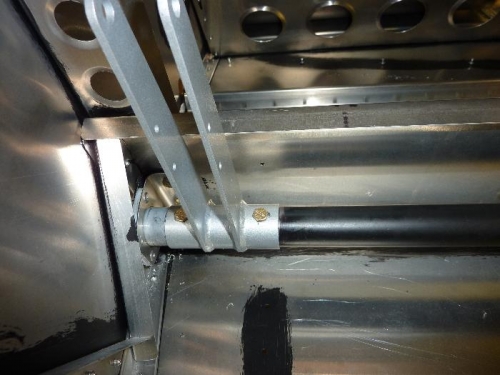
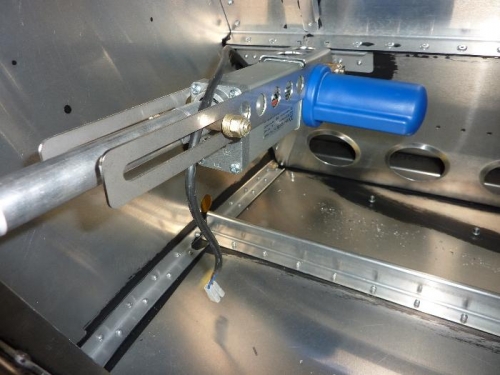
Start with a lot of grinding, to make torq-tube fit inside lever 6-B-19-3. Sprayed parts with primer and hammerite paint. Installed flap torque tube 6-B-19-1R from right side, but I had to enlarge the hole in skin first. Same on the left side with -19-1L. Installed lever and connect with 2 AN3-15 bolt, washer and stopnut. Continue with electric actuator, stainless steel guide 6-B-19-52 and torque tube. Used bolt AN5-22 double washers and castlenut with cotterpin in front end. AN4-24 bolt, 5 washers and stopnut in middle. And 2 spacers 6-B-19-57. In rear end AN4-15 bolt spacer 6-B-19-54 double washers and castle nut with cotterpin. Hole for AN5 bolt was enlarged from 6 to 8 mm.