Spring weather is finally making an appearance here in Michigan! Took advantage of the nice day to work in the shop for a few hours on the flap hinges.
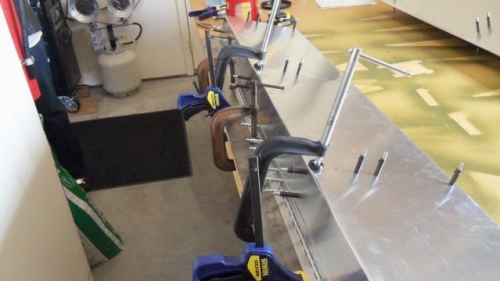
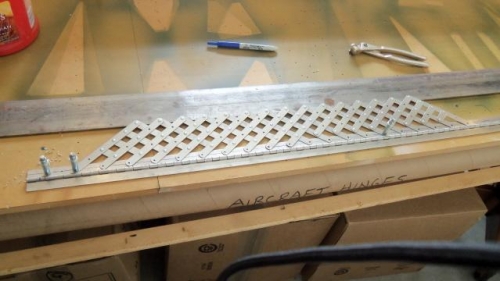
Laid hinge against flap and marked extended rib center lines onto hinge leaf. Note: Laid out so the end knuckles would be on the wing-side leaf so the safety-wired holes remain stationary as the flap-side leaf rotates when flaps are exended and retracted. Marked line 8mm from hinge leaf edge. Center punched and drilled rib-attach holes to 3/32" Used rivet hole spacing tool to locate the 40mm pitch locations (3 spaced to 20mm at each end). Center punched and drilled all holes Laid a 1/8"x3"x10' bar of steel on edge of bench, butted bottom flap edge against bar. Clamped wing-side hinge leaf on top of bar with flap-side leaf against flap web Lightly clamped front of flap at rib locations to ensure it was flat to bench. Started in center and match drilled flap web, clecoing and moving clamps as I worked my way outward. Opened holes to 5/32" Marked hinge end cut lines using flap skin end edges as guides Used hacksaw to cut each end of hinge Tapped hinge pin out about 3/8" and cut with hacksaw. Tapped back in about 3/16" Drilled 1/16" hole in each end knucke for safety wire. Deburred, IDd with a Sharpie and stored away.
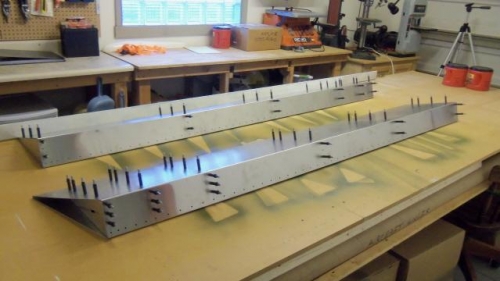
Repeated process for other side.
Ready to debur skin, debur ribs, clean ribs, prime mating surfaces and rivet with A5s. Still need to purchase 1/8" Nylon sheet to fabricate the control plates.