Brief Description: Clecoed tank together & drilled Z brackets
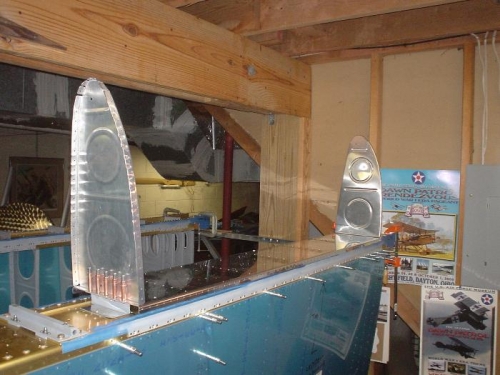
Yesterday I received my cleco and proseal order from Vans. 300 new clecoes. Boy did I need them. I wrestled the clecoes into the tank skin and ribs. It was even more of a bear than the leading edge skins because the tank skins are thicker.Then, I followed Dan Checkoway's recipe and put the assembled tank onto the spar. As Dan said, it really looks sweet with the tank and the leading edge skins on. Then I drilled the root rib to the baffle and the Z brackets below the baffle. Next, I removed the leading edge assembly and drilled the tank rib closest to the tip. Then, I removed the tank skin and all but the outer ribs and drilled the baffle to the remaining Z btrackest. It worked like a charm. The tank skin was as tight as a tick to the leading edge and the other wing skins.
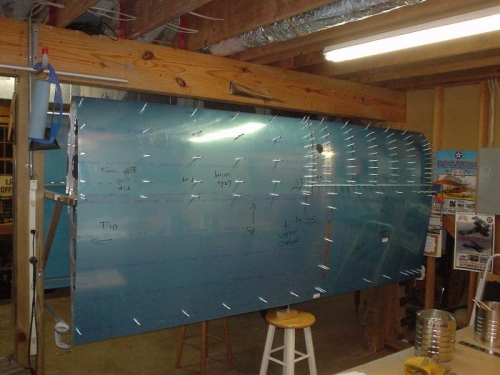
Wing with leading edge and tank clecoed in. SWEET!
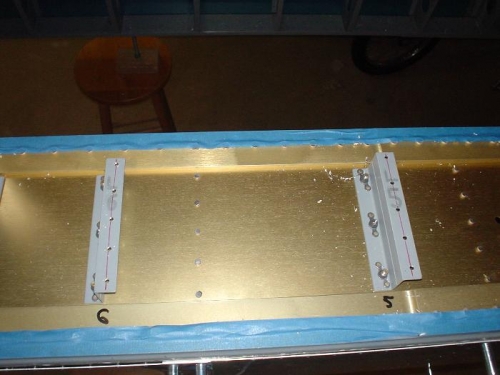
Tank skin removed to drill the baffle to the Z brackets.