Brief Description: Drilling and countersinking the spar
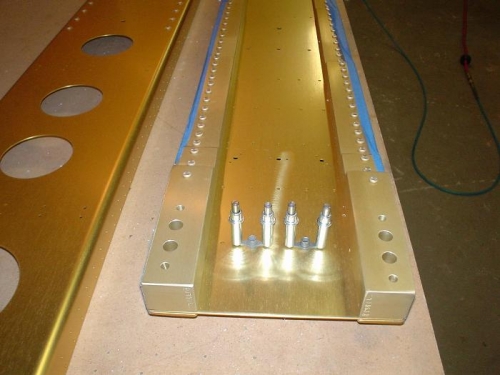
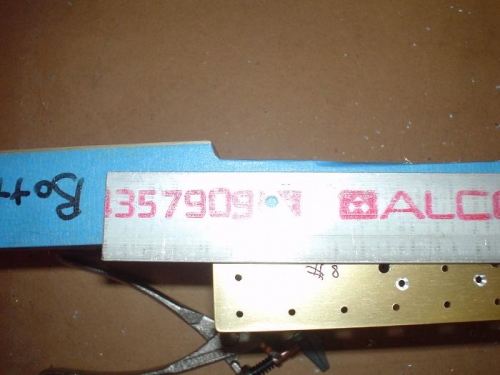
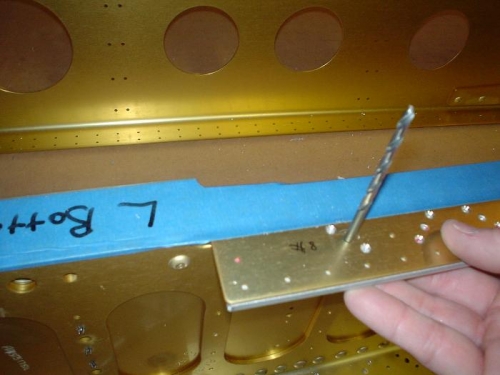
I did as much drilling and countersinking as I could before receiving the #6 and #8 countersink bits from Avery. I bought a #20 drill bit from Handy Hardware, so I could drill the holes for the #8 screws in the spar flange. I should have bought a #27 also, so I could drill the holes for the #6 screws in the bottom inspection plates. I was also able to countersink the plate nut attachment holes for the #6 screw platenuts for the inspection plates.I also pondered the question of how to countersink the spar flanges. Many builders have had troubles when the countersink pilots are not tight enough because the spar flanges are not thick enough. This leads the pilots to wobble and the countersink to trash the hole. Some builders are using backing plates to guide the pilots. I simply drilled a hole in a thick aluminum plate and use the drill bit to line it up with the flange hole. Then I will clamp the backing plate on the flange. Now we will be ready to countersink. Dan Checkoway also match drilled the plate nut attachment holes and used clecoes to line it up before using clamps and then removing the clecoes. I think my system will work faster because I simply use a drill bit to line up the screw hole (the one to be countersunk) and the backing plate. See the photos on this page and the following entry.
Plate nuts on the spar web
Countersink backing plate, 1st drill the screw hole and the backing plate hole to #20
2nd, line up the screw hole and the backing plate hole with a #20 bit.