
|

|
|
|
Stevens Web Site
|
Date: 7-19-2006
|
Number of Hours: 2.00
|
Manual Reference:
|
Brief Description: Finished left aileron
|
|
Tonight I finally finished the left aileron. All I had left to do was to pull and squeeze the rivets for the bottom of the aileron. First, you have to weight the aileron down on a flat surface so that you do not build any twist into it. None of my workbench surfaces are dead flat, so I cut a piect of 3/4 inch plywood 6 feet by 15 inches. Then, I shimmed the plywood till it was more or less flat. Then, I weighted the aileron down with diving weights covered in newspaper to prevent scratching the skin. Next, the leading edge was riveted with pull rivets (sometimes called pop rivets) to the counterweight (water pipe). Finally, I finished up by squeezing the rivets in the bottom of the leading edge and the ribs and pulling rivets attaching the bottom of the leading edge to the spar and the bottom trailing edge skin. I then dressed up the leading edge pull rivets with the scotchbrite wheel. Voila! one finished aileron. The next one should not be nearly as long or complicated now that I have the hang of it. After posing with the left aileron, I clecoed the right aileron together so that I could mark all of the pieces (left, right, up, down, etc.). I don't think I will get any more construction in this week. Tomorrow night is Habitat for Humanity meeting night and this weekend I leave for Oshkosh for a week of aviation. Woo Hoo!
|
|
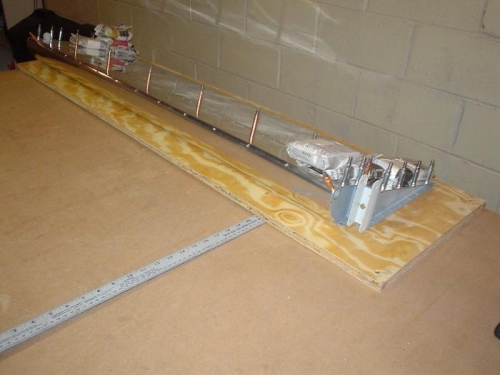
Plywood with shims (note the yard stick) to make it flat
|
|
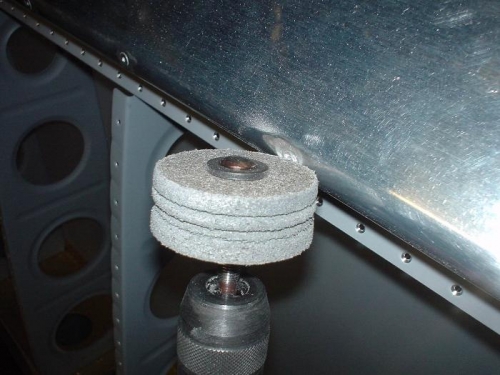
Touching up the pull rivets on the leading edge
|
|
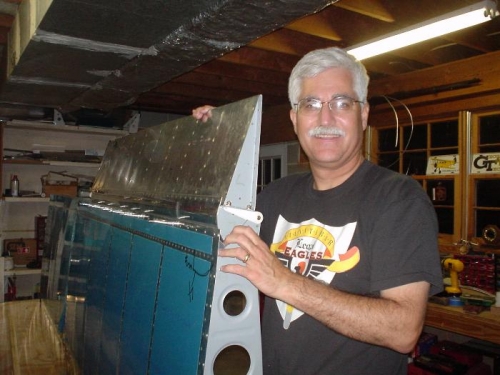
Proud papa of a left aileron
|
|
|
|
|
|
|
|
|
Copyright © 2001-2024 Matronics. All Rights Reserved.
|