
|

|
|
|
Stevens Web Site
|
Date: 5-16-2006
|
Number of Hours: 3.20
|
Manual Reference:
|
Brief Description: Final riveting of left leading edge to spar
|
|
It was good to get back on the project after a hiatus. Besides, my friends are carping about the lack of progress. Tonight I riveted the left leading edge onto the spar. I started by reaming the leading edge ribs to spar holes a little and then deburring them. After I was satisfied that the final fiting was straight and true, I began driving 1/8 inch rivets to hold the ribs to the spar. I was apprehensive about all of this because I have heard other builders complain that it is a bear to reach in and buck these rivets while there is very little clearance for the rivet gun. Well, it is not nearly so bad as everyone says. First, I ground off a flat spot on the double offset 1/8 in. rivet set, as per the plans. Reaching around to hold the bucking bar was a challenge, but not impossible. Only the middle rib posed a huge challenge, so I simply used pull rivets (LP4-4) for that rib, upon the recommendation by Vans. After listening to all of the whining by other builders, I was prepared to use pull rivets for all of the ribs, but that was not necessary. Finally, I used the pneumatic squeezer to set the rivets holding the skin to the spar on the top and the bottom. Voila! The left leading edge is now permanently attached to the left wing spar. It feels good. Tomorrow, I will tackle the right leading edge.
|
|
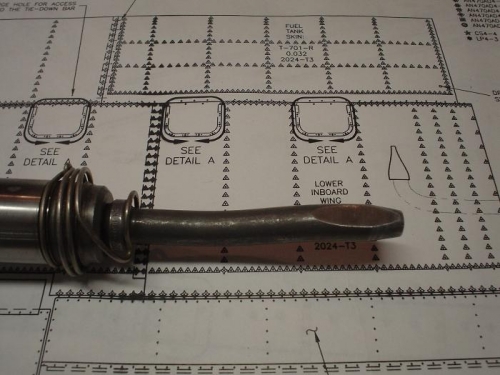
You have to grind off one side of the rivet set to fit the tight quaters
|
|

Riveting the leading edge ribs to the spar
|
|
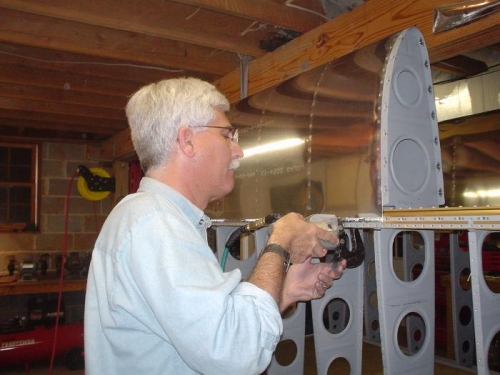
Setting the rivets holding the leading edge skin to the spar
|
|
|
|
|
|
|
|
|
Copyright © 2001-2024 Matronics. All Rights Reserved.
|