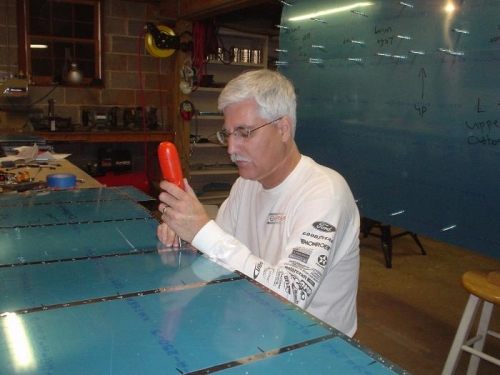
I am waiting for the tank proseal to cure and for safety wire to arrive from Vans before running a pressure test on the right fuel tank. In the meantime, I started on the wing skin prep process. It is a long and tedious road to prepare all 8 wing skins for riveting. First, I have to finish drilling out any stray holes. Then, I have to debur all of the holes and smooth the edges. Next, I will dimple all of the countersunk holes. Finally, I will scuff the back side (inside) of all the wing skins for painting with primer. Tonight, I was able to finish the skin drilling by drilling out the inspection plate holes to #19 for the #8 screws. I then drilled out the wing tips to #28 for the #6 screws that will hold the wing tips on. I have decided to use screws and nutplates to hold the wing tips on instead of the blind rivets called for in the plans. That way, I can remove the wing tips later for servicing the wing tip landing lights, position lights and strobe lights. I also deburred 3 (out of 4) lower wing skins. It is a long road, but at least I started with a good first step tonight.
Fearless builder deburring wing skin holes
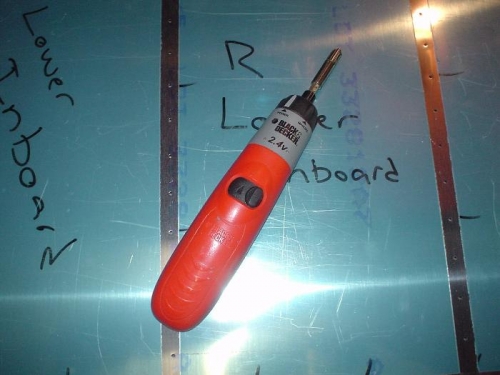
The weapon of choice for deburring; a Black & Decker battery powered screw driver with deburring bit