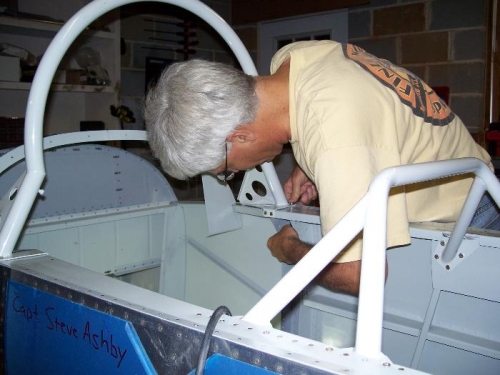
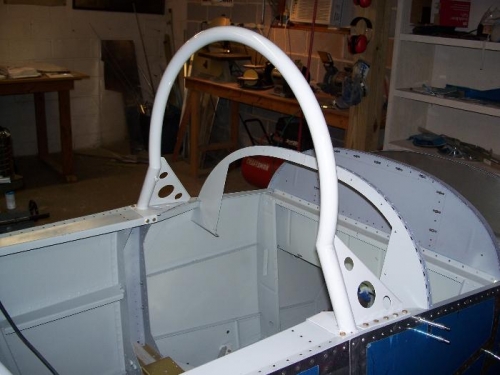
All I did tonight was install the windshield bow. The weldment itself was 3/16" too narrow for the fuselage, but it was fairly easy to flex it wider and clamp it to the longerons and cockpit rails for positioning. Then, I spent the next hour getting it lined up. It was so difficult because I had to decide whether to square it up with the aft cockpit bulkhead or the firewall bulkhead. It seems that there is about a 1/4" difference, depending on which bulkhead you use. After much cogitating, I figured "what the heck" and just squared it up to the firewall bulkhead. That way, the windwhield bow will be the same distance on each side from the instrument panel. Seems logical. The next step was to use 4 mongo C-clamps to clamp the fool out of the bow before drilling it to the longerons. The welded steel bow does not exactly line up with the longerons, thus the clamping to bend it into shape. After clamping, driling and deburring, I finally bolted it into place. It is starting to look more and more like an airplane now. The windshield bow is also a roll bar, to protect me in the event the fuselage ever rolls over. The canopy itself would offer no protection. It would crack like an egg once it struck anything.