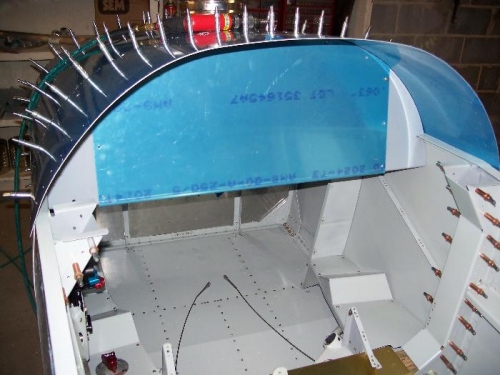
It was an exciting night down at Tranquility Base. Tonight I finished deburring and priming the instrument panel bulkhead and then I installed it into the cockpit. It took a little filing of the bulkhead where there were slots for the upper longerons, but they soon fit like a glove. Then, all I had to do was line up the midline of the flange (I drew a line there) under the holes prepunched in the upper forward fuselage skin and drill. Minutes later, there was an instrument panel in my airplane! How cool is that? Now, I will have to get serious about the instruments and radios I will install in the instrument panel. The two grey areas on each side of the blue instrument panel (it still has the blue plastic on it) are part of the instrument panel bulkhead. I have to decide which instruments and switches go into these small areas before I finally rivet it into the fuselage. I am fairly sure that the magnetic compass (which I purchased with money given to me by my EAA hero, Frank Wilcox) will go in the upper right hand of the instrument panel bulkhead. An air vent and switches will probably go in the left side. The middle of the instrument panel is still up for grabs. A lot will depend on the budget.
Drilling the top fuselage skin to the instrument panel bulkhead