
|

|
|
|
Stevens Web Site
|
Date: 11-23-2007
|
Number of Hours: 5.30
|
Manual Reference:
|
Brief Description: Fabricated the rudder stops
|
|
After a happy Thanksgiving, I had Friday off, so I spent most of the day at Tranquility Base, working on the rudder assembly. Having fabricated the rudder stops in accordance with the plans, I cut out a cardboard template with a 32.5 degree angle so that I could measure the proper swing of the rudder (the plans call for a 30 to 35 degree swing). After much fussing with the stops and the rudder swing, however, I determined that I was measuring the swing incorrectly. You cannot measure it from the outside of the rudder skin because the rudder is tapered from the front to back. The only way to measure the angle of the swing is to measure it from the center point. Back to the drawing board, I got a poster board and drew out a center line, a point of pivot for the rudder and 32.5 degrees to either side of the center line. I then taped the poster board to the convenient hvac duct just over the horizontal stabilizer. Only then, could I measure the rudder swing correctly. Then, I had to decide where to rivet on the rudder stop (the little piece of aluminum which keeps the rudder from swinging too much and scraping against the elevators). After a great deal of cogitating, I determined that the rudder stops were not long enough to allow them to be riveted both forward and aft of the last fuselage bulkhead. They needed to be at least 1/4" longer to reach and still have edge distance for riveting. So, I scrapped the rudder stops that I had fabricated as per the plans and built two more that were 1/2" longer. It is amazing how much faster they go the second time around. These little jewels were just what the doctor ordered. Since it is easier to do at this point, I polished the stops with my cotton polishing wheel on my grinder. They look sweet. Then, I had Miss Vick (the wife) come down and help me rivet them onto the aft part of the fuselage. I finished up the night by starting on installing the aluminum bracket which holds the brake lines.
|
|
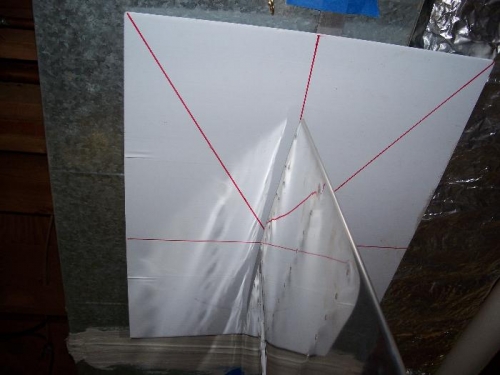
Poster board which shows the angle of the rudder to the center line (here centered)
|
|
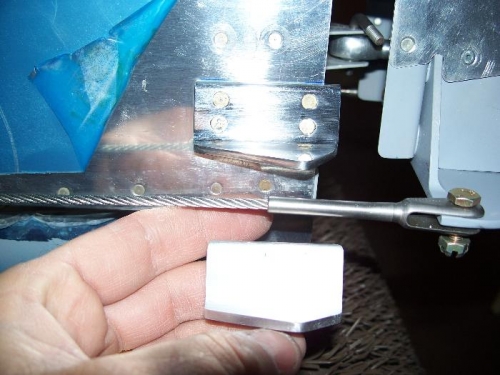
The plans build rudder stop (in my hand) is shorter than the final design (riveted on the plane)
|
|
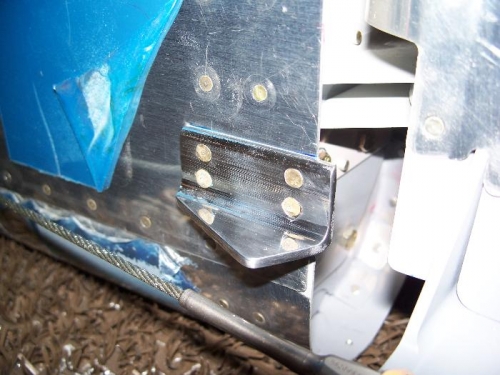
The polished rudder stop, all snugly riveted on
|
|
|
|
|
|
|
|
|
Copyright © 2001-2024 Matronics. All Rights Reserved.
|