Brief Description: More trimming and fitting left flap
Fitting the flaps is difficult because the plans and the drawings are sparse and obtuse. I trimmed the left flap top skin until I could finally attach the flap to the wing with the hinge I had riveted on a long time ago. I had to buzz off three hinge eyes to allow the hinge pins to be placed from the middle of the flap. I also had to trim some of the bottom skin to get things to fit right. Finally, I had to bend the inboard forward section of the top skin so that the flap would retract all of the way (see the right top side of the second photo). After a considerable amount of head scratching and fiddling, I also figured out where the flap fairings are supposed to fit. It turns out that the fairing will have to be drilled from inside the fuselage to get it to line up right. The only problem is that the plans told me to temporarily fasten the floor boards in with some pop rivets and the holes need to be drilled underneath the floor boards. So, I guess it is time to drill out the temporary pop rivets and pull the floor up. After much thought, I have decided to make the floor boards removable instead of pop riveting them down on final assembly. By fastening the floorboards with screws and nut plates, I will be able to access the belly skins later for antennas and such.
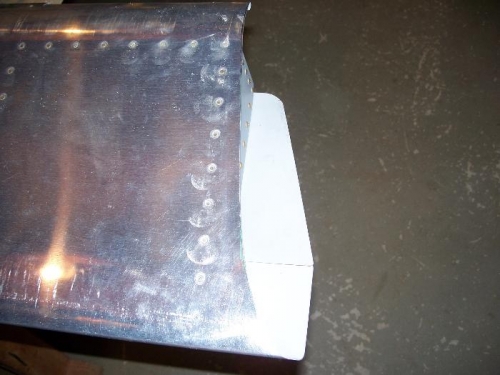
The trimmed top skin of the left flap
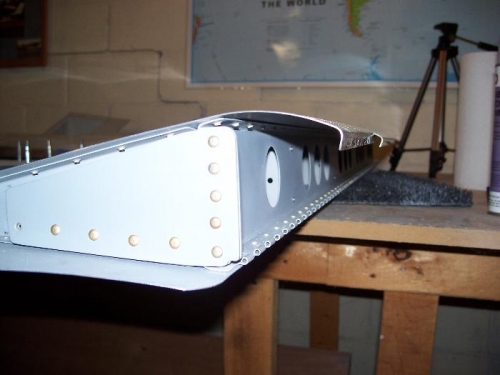
On the top right side of the flap you can see where I had to bend the lip down 90 degrees