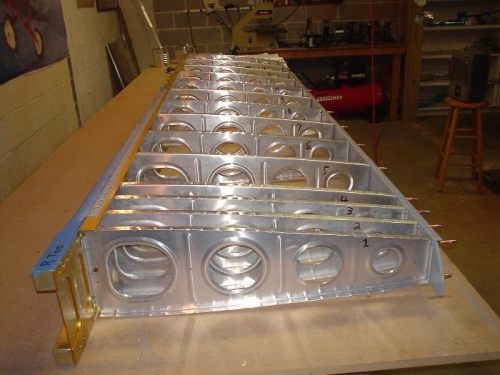
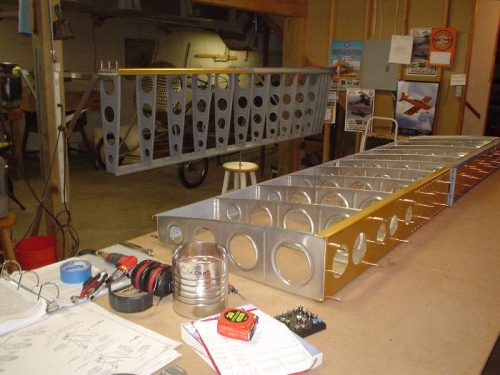
Brief Description: Fit, drilled and deburred the right wing skeleton
Before starting on the right wing, I shimed the left wing in the jig so that it was level and without twist. I will install the lower arms on the jig when I get the right wing in there.I then fit the main ribs to the right wing spars. There is no drawing for the right wing, so you just have to look at the drawings for the left wing and then extrapolate. The same number ribs are in the same positions on the spars, but their flange direction is reversed. It helped to just think of the flanges pointing towards the tip or the root.I then drilled out all of the holes to final size (I had to drill out the stray rivets in the rear spar, just like the left wing) and then drilled the wire conduit hole in the rear tooling hole, as per the plans.Finally, I deburred all of the holes. Now, I have to scotchbrite and prime all of the right wing ribs.