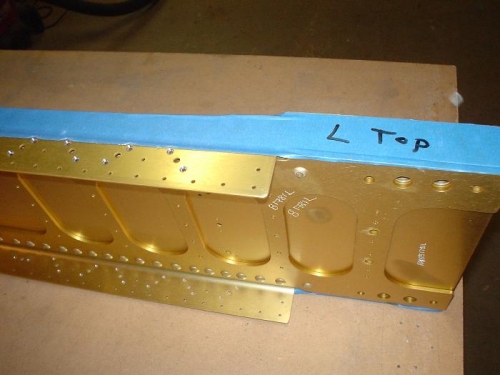
Brief Description: Countersunk tank attachment plate nut holes
I started on the wings by drilling the tank attachment platenut holes to final size (#40) and countersinking them. I could not drill or countersink the center holes yet because I do not have a #20 drill bit or #8 countersink bit. I'll order these ASAP.There are a lot of holes in this bugger. My arm got tired drilling and countersinking. On top of that, I had to debur the bottoms of the holes when it was all done. It ain't rocket science, but I enjoy the handiwork while I listen to the radio. Besides, every hole brings me one step closer to the first flight in my bird.Just this week I decided on a name for the airplane. She will be called "Miss Vick" after my dear wife Vicki. When Miss Vick is finished, I am seriously considering some nose art with Vicki as a WWII era nurse in uniform with a red cross cap. First things first, however. Let's get the wings built before summer.
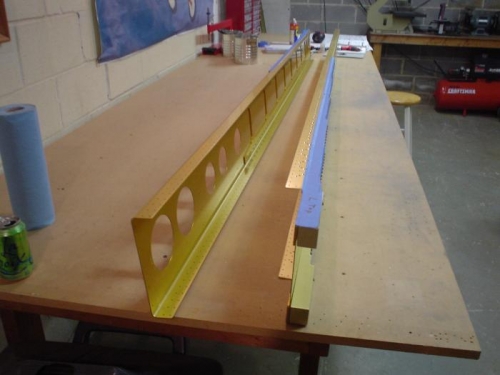
Both spars lined up (the tape is to keep filings out of the gaps in the top and bottom of the spars.
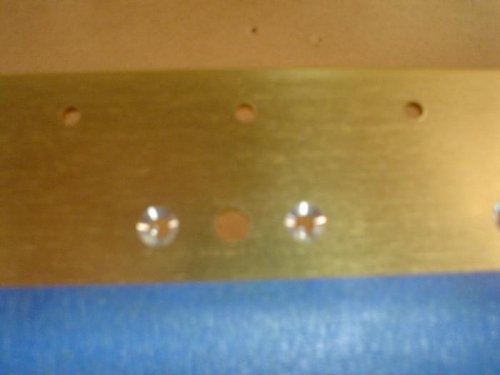
Closeup of the countersunk platenut attachment holes. The center hole gets countersunk later.