
|

|
|
|
Stevens Web Site
|
Date: 6-23-2008
|
Number of Hours: 2.30
|
Manual Reference:
|
Brief Description: Working on the rear seat
|
|
I twas good to get back on the project tonight. First, I riveted the rear seat assembly together. Next, I trimmed the flanges on the rear seat assembly so that it would sit flush against the rear bulkhead. Next came fitting the fiberglass cap to the seat; the half dome piece on top of the seat which seals off the cockpit from the rear baggage compartment. This was my first time ever working with fiberglass. First, I made rough cuts with my band saw. Then, I used the table top belt sander to fine tune the cuts. I used the respirator mask because the cutting and sanding process kicked up fine fiberglass dust. I figure that was not good stuff for the inside of my lungs. After a fair amount of fiddling, marking, cutting, sanding and more fiddling, everything seemed to come together and fit right. Next, I will have to rivet the fiberblass cap onto the seat back with a reinforcing angle. Then, I will have to do a little wet fiberglass work to the back of the seat cap so that it's rough surface does not cut into the aluminum rear bulkhead. Once all of that is done, I can repaint the seat back. First, however, I need to buy some more paint.
|
|
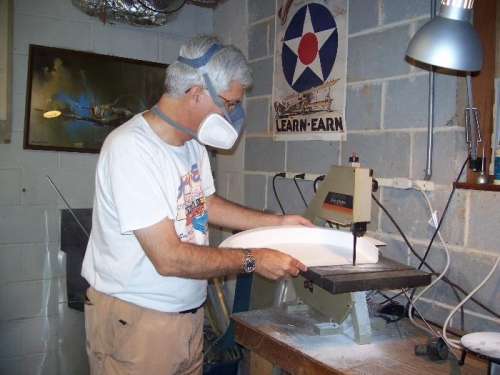
Cutting the fiberglass rear seat cap with a band saw
|
|
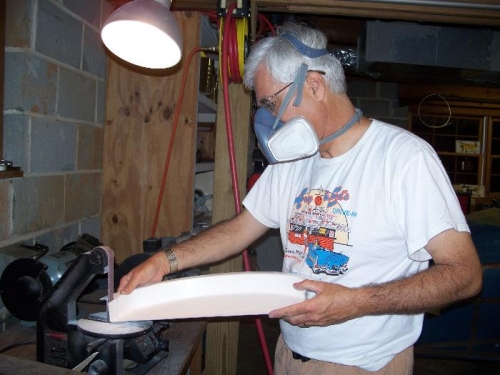
Using the stationary belt sander to trim the rear seat cap
|
|
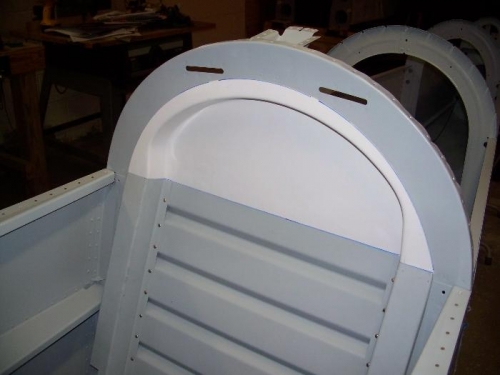
Rear seat cap cut to the basic shape
|
|
|
|
|
|
|
|
|
Copyright © 2001-2024 Matronics. All Rights Reserved.
|