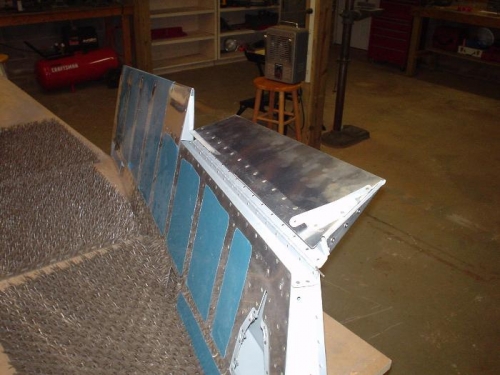
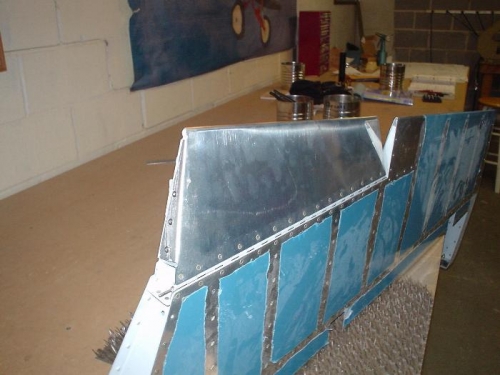
I finished the trim tab by back riveting the skin to the bottom of the spar (not as much a problem as I had anticipated, it was fairly easy to peel back the top skin to get at it) and clecoing the hinge on as I fit it to the elevator. A little jiggling and it all lined up perfectly. I then set the rivets in the side tabs (the plans call for flush rivets, but there is no way to dimple the side tabs, so I used round head pull rivets instead. There should be no clearance problems with the elevator since I fabricated the "mini end rib" instead of bending the tabs on the elevator itself. I then set the rivets on the top of the trim tab spar. In the process, I bent the hinge loops a little and had to bend them back so that the wire could be reinserted into the hinge loops.I then bent the bottom skin of the tab just a little so that it will clear the bottom of the elevator skin. I reattached the trim tab and it all looks straight and beautiful.Next, I mounted the trim tab motor onto the access door with flush rivets and screws. The whold assembly will not go into the access port and I see that I will have to trim about 1.4 inch off of one spot to get it to all fit in. Dan Checkoway had this same problem and used that same fix.