Brief Description: Finishing the rudder trailing edge and messing up
I committed my first fairly large boo boo today. Things started out well. I finished squeezing the rudder trailing edge with the seaming pliers and they worked like a charm. The trailing edge looks good and is straight all the way to the edge like it says it should be in the plans.I then started on the rudder skeleton. Fabricating the spacer for the bottom of the skeleton went smooth. Then I started to fabricate the two strips which will hold the fiberglass rudder bottom on. The plans say to match drill it to the skin (R801PP) I went ahead and match drilled them to the skin and the bottom rib (R704). I clamped everything in place with the side clamps and started drilling away. After a while, I found out that the R704 rib had shifted and I was now making two lines of holes in the rib. The rib and the strips were ruined. I quickly fabricated two new strips, but I will have to call Vans to order a new R704 rib. Oh well, at least I did not foul up the skin. That would have been a true disaster.I will order the new rib tomorrow. I will start work on the elevators while I am waiting for it to be shipped to me.
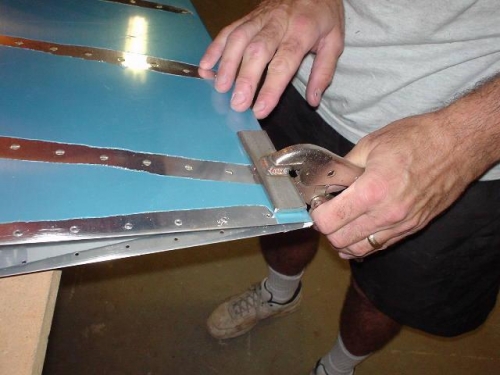
Using the seaming pliers to finish the rudder trailing edge bend.
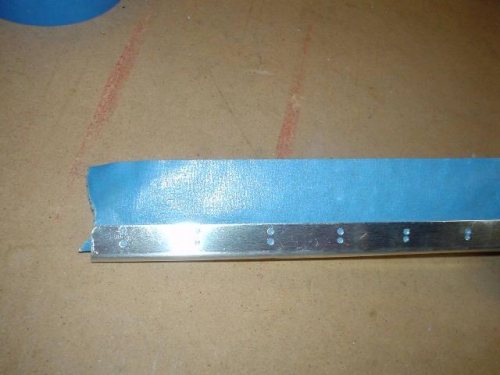
Here is where the R-704 went bad. The blue tape is to show the (now) two sets of holes. Aye Caramba!