
|

|
|
|
Stevens Web Site
|
Date: 9-6-2006
|
Number of Hours: 3.20
|
Manual Reference:
|
Brief Description: Finished right flap
|
|
Tonight I finished the right flap. First, I back riveted the top of the flap spar by using the offset back rivet set used on the wing skins. The whole flap was placed on top of the back riveting plate and the flat surface (hollow core doors from Home Depot). The back riveting plate is 3/8", so I used flat aluminum bar stock to build up two braces 3/8" thick, to place under the other parts of the flap not supported by the back riveting plate. Then, I weighted the flap down so that it was flat (3/8" above the flat door surface). Back riveting the top spar was then a snap. After that was finished, the whole upper side of the flap was riveted (except for the outboard rib, which would be riveted later). I took the clecoes out of the top of the outboard rib and then flipped the flap over so that the top of the flap lay flat on the door surface. Then, I weighted the flap down again with diving weights (taped up so that they would not scratch the surface) and squeezed the rivets onto the bottom of the flap spar and the flap hinge. Next, I riveted the outboard rib by hanging it over the end of the flat door surface (still weighted down flat). I finished up by pulling the rivets attaching the roots of the ribs to the flap spar. In the end, I got what I was looking for, a flat rib with no twist. I finished the night by fixing a problem I created a long time ago. When assembling the wing, I dimpled the flap brace. Instead, I was supposed to countersink it. Tonight, I squeezed the dimples out of the flap brace using the pneumatic squeezer and two flush sets. Then, I countersunk all of the holes. This way, the bottom wing skin can sit flush on the bottom side of the flap brace while the flap hinge gets riveted to the (now flat) upper side of the flap brace.
|
|
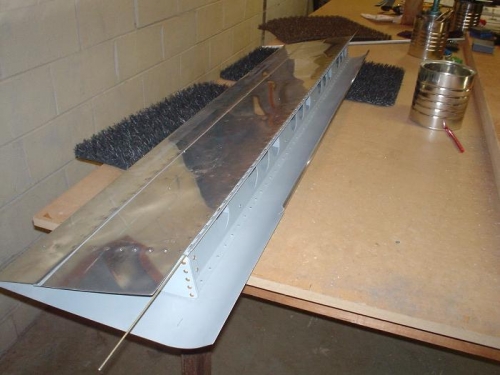
Finished right flap, flat as a pancake
|
|

Flap brace after the dimples were squeezed out and then countersunk
|
|
|
|
|
|
|
|
|
Copyright © 2001-2024 Matronics. All Rights Reserved.
|