
|

|
|
|
Stevens Web Site
|
Date: 5-29-2006
|
Number of Hours: 2.00
|
Manual Reference:
|
Brief Description: Began riveting the top skin to the left wing
|
|
Tonight was a big night. Sam Beal came over to help me begin riveting the top skin to the left wing. We used the recommended back riveting method, using a 3 pound bucking bar and an elongated double ofsett back riveting set (from Avery Tools). Before starting, I taped the rivet schedule page of the plans to the top of the wing leading edge so that we could see where the different size rivets went. Then, I took a sharpie and marked the holes in the wing for the right rivet sizes. Then, Sam and I started. I shot the rivets from the back side and he bucked them from the front side. We found several tricks would help produce good looking rivets. First, pay attention to the rivet size. Puting the incorrect size rivet in the hole will just give you the opportunity to drill it out later. Next, you need to put all your weight behind the bucking bar to make sure the manufactured head of the rivet does not stick up from the surface of the skin. Finally, when shooting the rivets from the back side, use your free hand to steady the rivet set so that it is square to the shop head. After a while, we switched positions and sam shot the rivets while I bucked them. Of course, I place the wrong size rivets for two complete rows of rivets (on the wing walk area) and had to drill all of them out. Oh well, more practice. I did not get any shots of Sam because I left the camera at work. These shots were taken the next day.
|
|
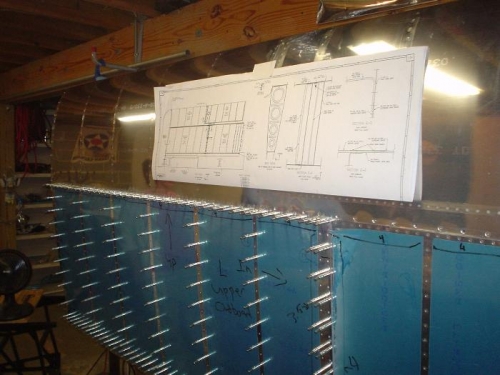
Rivet schedule sheet of the plans taped to the leading edge
|
|
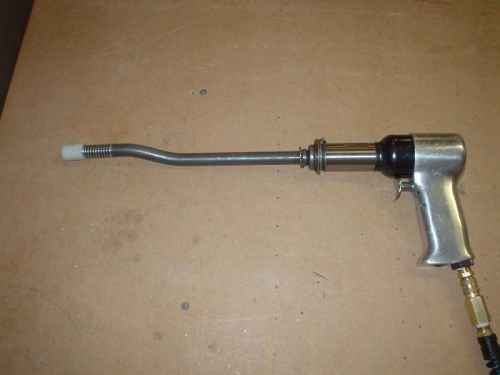
Rivet gun with the Avery double offset extended back riveting set
|
|
|
|
|
|
|
|
|
Copyright © 2001-2024 Matronics. All Rights Reserved.
|