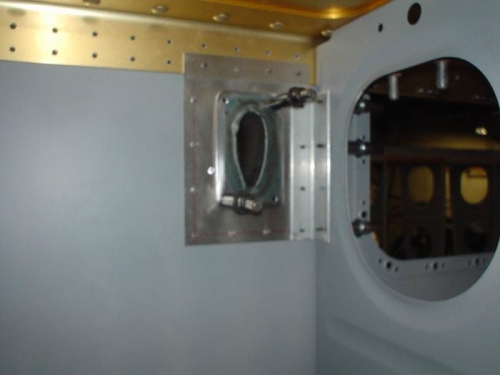
Finally back to work on the project. It feels great to be back in the shop with the whir of the air drill and the classical music on the radio. Just before leaving for Paris, I received my pitot tube and bracket kit from Gretz Aero. Tonight, I spent some time trying to figure out the instructions and skull out how to slam this thing in the wing. It was not too dificult, but I had to be careful to keep everything aligned so that the pitot tube will not be catywhompus to the direction of the airflow under the wing. I had to fabricate a bracket from aluminum angle to attach the pitot tube bracket to the wing rib. As per the instructions, I placed the bracket and pitot tube one rib bay outboard of the inspection port. This will make it easy to access and get the pitot tube away from the turbulence created by the tie down ring (one rib bay closer to the wing root). After fabricating the bracket, I drilled everything out to the bottom wing skin, deburred, dimpled and primed. I had to accomplish this all now, before riveting on the top wing skin and losing access. Everything looks good. I will install the pitot tube into the mast bracked after the wing is closed up.
Pitot tube bracket and angle, drilled to the rib and bottom skin