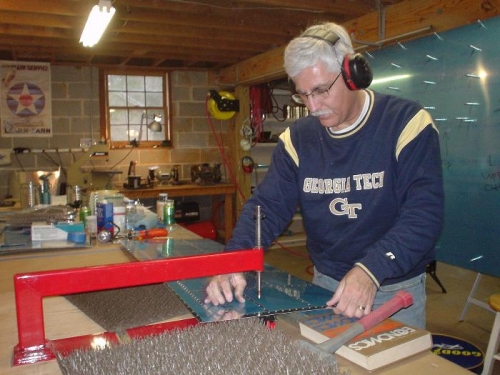
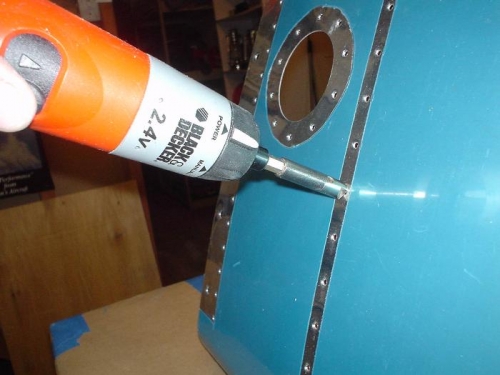
It felt good to get back on the project after several days off. I started by scuffing the bottoms of the tank stiffeners (so that the proseal will stick better) and then I dimpled them. I then scuffed the inside of the fuel tank skin where the stiffeners and the ribs will come into contact. Then I dimpled the tank skin with the C-frame dimpler (see action photos). Finally, I noticed that the rivets on the tank skin for the left tank (the one I already completed) stood out a tiny bit from the surface of the tank skin. They sell a dimple set specifically for tanks which dimples just a hair deeper to make up for the extra space generated by the proseal. I used the tank dies for the left tank, but I guess that was just not enough. So, I employed a little trick used by some other builders and I used my deburring countersink to trim the dimpled hole just a tad. We will see if that makes the rivets fit just a little better.
Positioning the right tank skin in the C-Frame dimpler
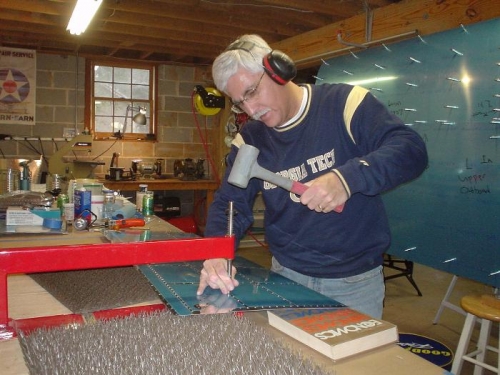
Whacking the tank skin into dimpled submission
Using the deburring countersink to deepen the dimples just a tad