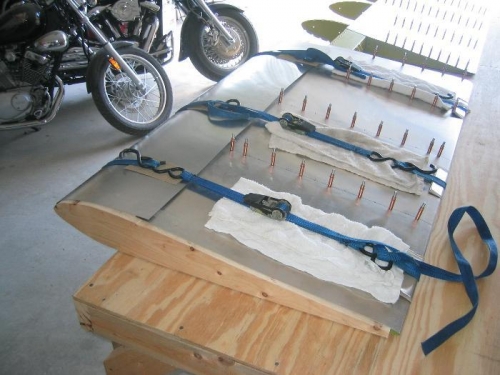
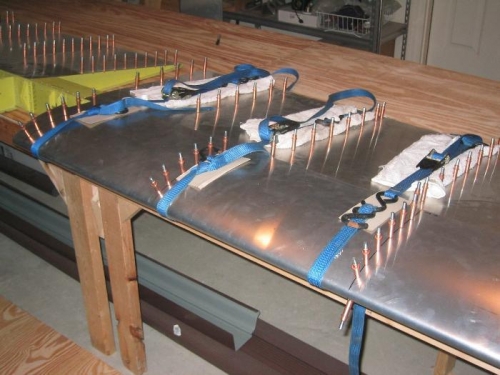
This step took much longer than I originally anticipated. There were many procedures (such as pulling the skins tight against the ribs) where I had to do trial and error tests before continuting on. I didn't want to bend anything, or mess anything up. I also had to make sure the whole assembly stayed straight and in plane as a whole. I used a lot of padding material so that the skins wouldn't get damaged while I was pulling them in with the straps. For the trailing edge I used scrap pieces of aluminum bent to form around the trailing edge with cardboard in between for padding. The foreward bend was fine with just the width oif the straps. In the first photo you can see all of this, as well as the tip jigs in action. These really did a good job of helping keep everything in alighment and I'm glad I made them. I did a test and took them out to see if it was really worth my time to make them. The assembly was much less stable and flexed everytime I made a strap adjustment. Once everything was set in place, I just worked from front to rear, clecoeing, then drilling. Note that in the third picture there are larger rivets. This is where the rear channel, and spar doubler are. It was a lot of metal to drill through, but I could tell the difference in stiffness of the entire assembly after both areas on easch side were joined.