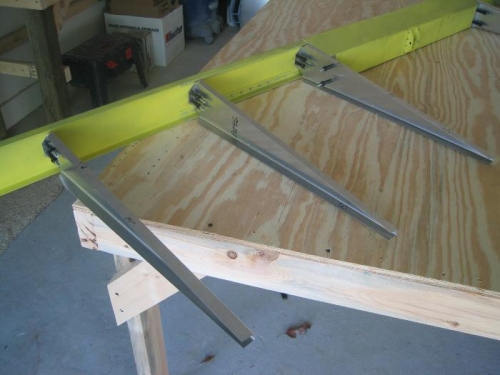
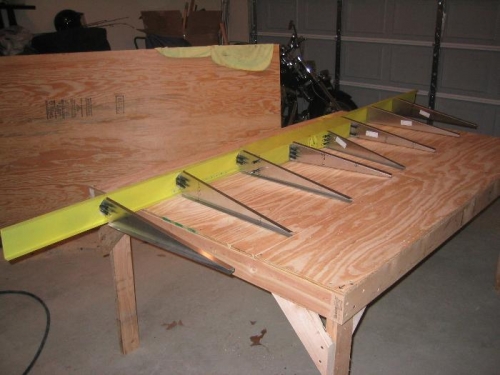
Once the inner rear ribs were complete, the outer ones went on pretty easily. The spar had a slight twist in it from the installation of the rear channel. Had the procedures addressed it at the time , I would have paid more attention to making sure it was perfectly straight. At any rate, I just had to squeeze opposite corners of the rear channel and install a couple countersunk rivets to hold it in place. When the skins are installed the rivets through these will go through both the spar and rear channel and hold everything in place. Once this was complete, I just laid the ribs in plane with the rest of them, clamped, drilled and clecoed. Since I didn't have room the make the second 6' section of my work table, I had to move the assembly around as I installed ribs so that I could ensure they all lined up. I really need to get my shed complete so all the "stuff" stored in the garage can go away. Then I'll have room for the other half of the assembly table. Otherwise, there's no way I can put the skins on and ensure they are all lined up.