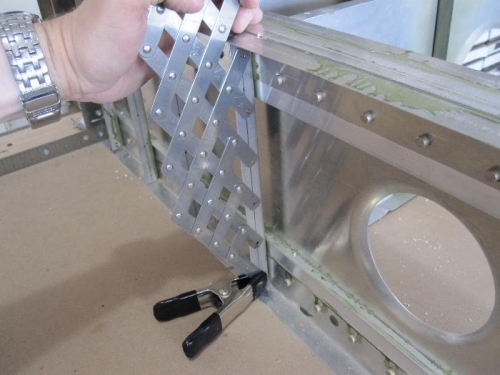
I finally got the close tolerance right angel drill and 1/4" threaded bits for it so I could drill the rib attachments to the spar. I used some jigs I had made (see tools section) to hold the spar at a 90 degree angle as well as the ribs as I was installing them. Pretty straightforwad after that. Some lessons learned though. The 90 degree drill is harder to hold in position while you are drilling and may have a tendency to "run" if you aren't careful. Also, It took a rib to realize this but DRILL THE RIB TO THE SPAR ITSELF FIRST. This pulls the rib tight against the spar, then you can drill the rib to the "L" angle and have everything nice and tight. The first one I did before realizing this will end up having holes that are slightly off. I'll just have to go one size up on the rivet to make for a tight fit. No big deal, except I'll have to make a special order becasue the plans already call for A5 rivets and the kit doesn't come with any bigger ones. They are only clecoed at this time and will be removed later for cleaning, deburring and painting. ** After speaking with Zenair, they said a little play in the rivet hole is ok. They also said to just add another rivet (observing spacing requirements) near the loose one.**