
|

|
|
|
Steves S-20 Build Site.
|
Date: 5-12-2019
|
Number of Hours: 8.00
|
Manual Reference:
|
Brief Description: Install windscreen and skylight!
|
|
I was a little nervous about installing the windshield and skylight, but it actually went pretty well.
I started the night before by joining the windscreen and skylight as they lay flat on the floor with the joining strips. Per the manual, I applied silicone to the strips as they were installed.
The next day I applied the foam tape to the ribs. I used a piece of the 2" wide foam tape I had left over from the door strike project to make a 1.25" wide strip for the rear of the skylight.
With the windshield/skylight clecko'd in place, I started by removing the clamping strips at the forward are of the doors, adding a reasonable amount of silicone, replacing, and final riveting in place. Then I moved to the front hold down strip, the rear hold down strip, and finally the skylight strips.
Getting the little washers in place on the front hold down strip took some patience, but I was able to reach all of them and get them placed with a needle nose pliers.
There are a couple of areas that I needed longer rivets. The side clamping strips at the front of the doors would not pull together far enough for the specified rivet to grab securely, and I a longer rivet at the bottom rear location of the window will pass through the glare shield panel without requiring a washer, which would be impossible to place.
After I was done, I noticed the four countersunk rivets in the upper corners of the windshield barley penetrate the tab on the fuselage, if at all. I have slightly longer ones on order to replace these ones.
The last parts to put on the plane are the wing cuffs and a couple of decals. It won't be long now!
|
|
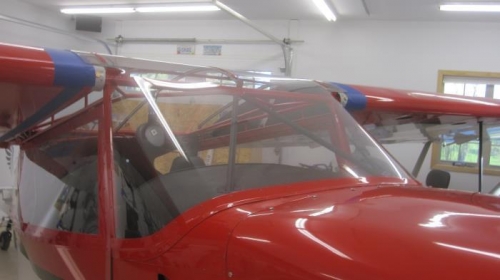
Windshield in place.
|
|
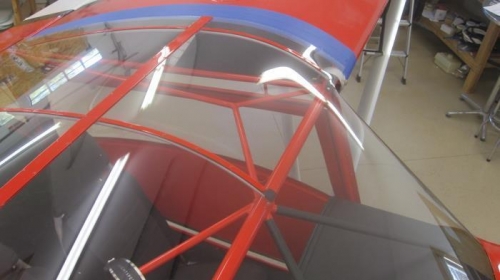
The skylight.
|
|
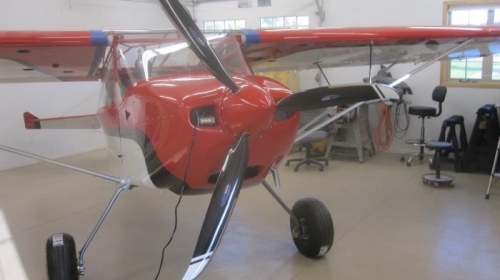
Looking ready to go!
|
|
|
|
|
|
|
|
|
Copyright © 2001-2024 Matronics. All Rights Reserved.
|