
|

|
|
|
Steves S-20 Build Site.
|
Date: 4-14-2019
|
Number of Hours: 6.00
|
Manual Reference:
|
Brief Description: Installing the Glareshield Pad.
|
|
I the started the glareshield pad by taping some kraft paper in place and installing the windscreen. I was able to trace around the windscreen components and develop a template for the shape of the material to be cut.
I taped off the area to be glued and used the outside of my template clecko'd in place to determine where to trim the tape.
I used DAP Landau contact cement for the glue. This stuff sticks like nobody's business, and although it can be hard to find, I have had excellent long term results with it.
In a past project, I had used some 1/8" "scuplting foam" under a dash pad, and it worked well. I installed the foam, and then sanded down the rivet areas. It worked OK, but not as well as I had hoped. Once the top layer of the foam was sanded, the middle would tend to ball up and gouge out, leaving craters. For as excited as I was to use this foam, it came out pretty well, but I think I would do something different next time.
On top of the foam I glued a piece of the same leather look lightweight vinyl I used on the kick panels.
I found out the hard way that trying to glue the entire glareshield area at once is a recipe for disaster. I used waxed paper to keep things from sticking until I could make sure I had them placed correctly, but a large portion of the paper tore off under the foam pad, and I ended up destroying the pad trying to get it out and had to start over. For the second time around I glued just the center portion between the down tubes, and then glued the outer portions after. This resulted and vast decrease in the number of "F-bombs" that flew through the room....
Since I had used the foam, the edge trim tended to want to push my vinyl out of place instead of slip over it. A butter knife borrowed from the kitchen worked to push the vinyl into place as the trim was installed.
This took a good part of a Saturday for me to accomplish, but it was certainly exciting to take in the finished results.
My remaining tasks list is starting to get pretty short.....
|
|
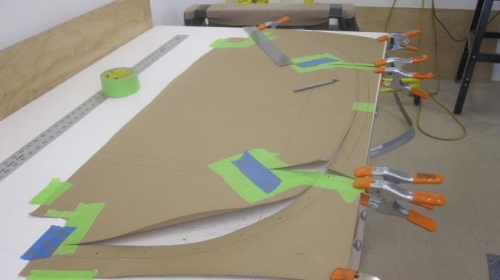
Developing the paper template.
|
|
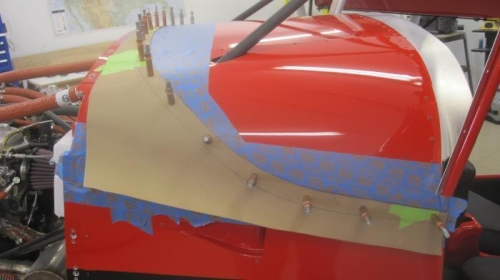
Outside of template to show area to be glued.
|
|
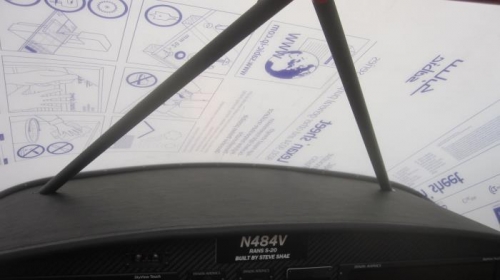
The finished product.
|
|
|
|
|
|
|
|
|
Copyright © 2001-2024 Matronics. All Rights Reserved.
|