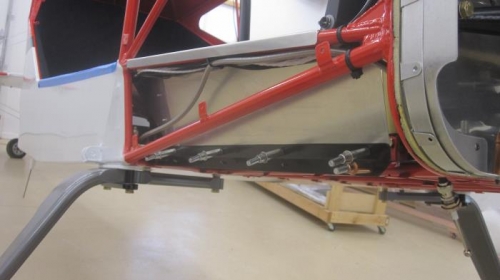
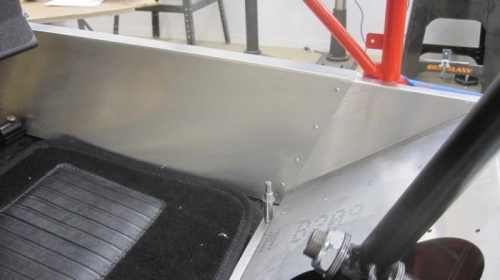
The last couple of short sessions were spent working to fit up what I call the "ankle panels". These panels cover the wires and fuel lines that run along the side of the plane from the pedals to the seat area. They were developed after my kit was produced, so I purchased them after the fact. Because of this, I need to modify some of my existing parts, and I don't have much in the way of directions so it is a lot of trim/ fit - trim/fit - repeat...
It looks to me like these are intended to be riveted to the control stick closeout, and just sit in place forward of that. I wanted them to be more secure, so I fabricated a couple of strips rivetied to the floor panel that will allow me to use screws to fasten the lower edge in place. The upper edge hooks over the frame tube. I also plan to use screws in place of the rivets so the control stick close out panels can be easily removed for access to the components beneath them while leaving the ankle panels in place.
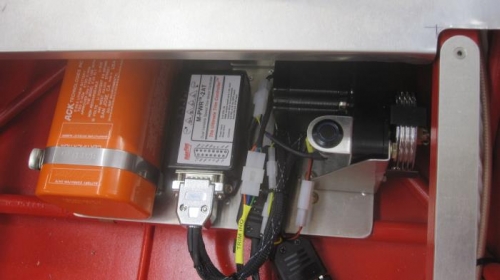
I have the Maker Plane auto trim system in my build, which uses a led lit push button for programming. I had this mounted to the elevator autopilot servo under the passenger seat, but I found that it was quite a ways under the control stick closeout which really limited the access. A quick remount to the aileron servo was made so I can access this button in flight by flipping the passenger seat up.