
|

|
|
|
My RV-7A
|
Date: 1-11-2009
|
Number of Hours: 4.00
|
Manual Reference:
|
Brief Description: Debur wing ribs and started straightening and flut
|
|
Started deburring with my new small scotch bright wheel, part of a kit ordered from Avery Tools from the great state of Texas. I started out trying to use the die grinder I had received as part of the tool kit I ordered from Plane Tools (a.k.a., Isham, Inc.). But I found that it had a continuous air leak just above the connector at the base of the die grinder. So I fired off a email to Plane Tools explaining my problem. Hopefully I will hear back in a day or two. Since the die grinder wasn't going to work out, I mounted the scotch bright wheel in the drill press. This made relatively quick work of deburring the 40 or so ribs that make up the wings and fuel tanks. Once I finished up deburring all of the ribs, I finished up the small unreachable places with a scotch bright pad (maroon). Starting with the fuel tank ribs, I straighten the flanges making them as close to 90 degrees to the web as I could, then fluted them to get the warp out and line up the rivet holes. This takes an unbelievable amount of time because as you move along the flange with the fluting pliers, the rib is being shortened, making the rib straight and aligning the rivets. I can get the rib really close to flat and straight but in doing this, it takes me about 15 to 30 minutes for each rib. I hope I am being anal about this but there is nothing in the builders manual that gives one an idea of what is or is not acceptable. Just get it as straight as you can. I guess and hope the pre=punched holes in the wing skins will align well enough to work. Only time will tell.
|
|
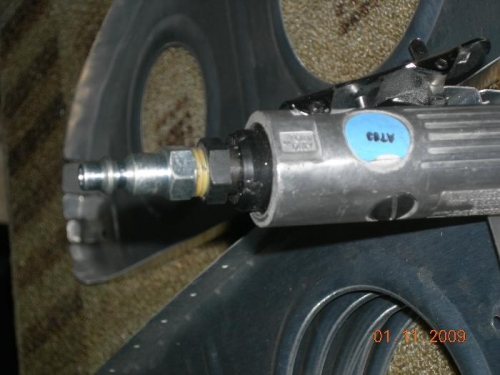
The leaky die grinder
|
|
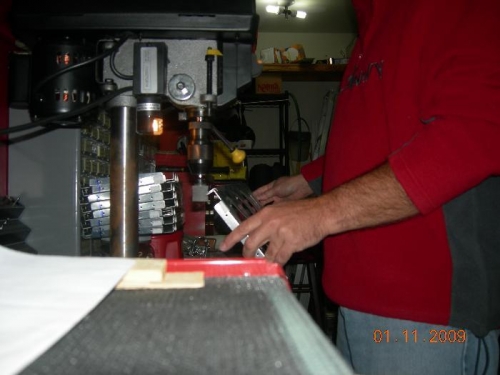
Deburring a wing rib
|
|
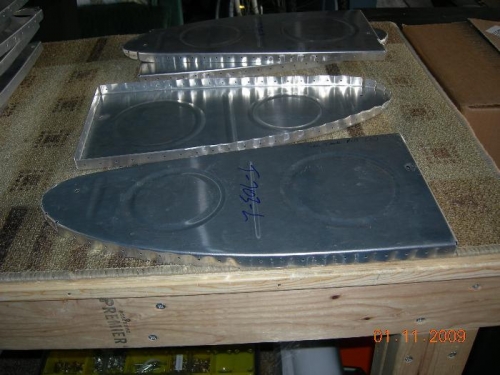
Fluted/Straightened Fuel Tank Ribs
|
|
|
|
|
|
|
|
|
Copyright © 2001-2024 Matronics. All Rights Reserved.
|