Brief Description: Forward baggage area, battery hold down, misc
I began by running a tap in all the nutplates for the baggage panel. The nutplates really don't need to be that tight for the panels and can really give you a fit if the day comes that they have to be removed. So tapping is how I have done these "non-structural" nutplates in order to avoid a future problem. I never tap the nutplates if they are holding a structural part that is structural in nature. I installed the side baggage wall as the bottom of the battery mount covers the screws for the panel which is ok since the odds of removing the panel are VERY slim. If I must remove the panel the battery mount must be removed....which still isn't a big deal.
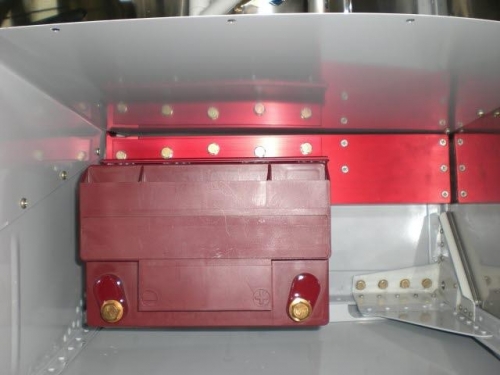
I assembled the battery mount in place with the exception of actually bolding the battery tray in place as it may be better to wait until I design the wiring routing. I have pretty much determined that the lower baggage area will serve as an electrical compartment....haven't got it all designed yet but that is the overall plan.
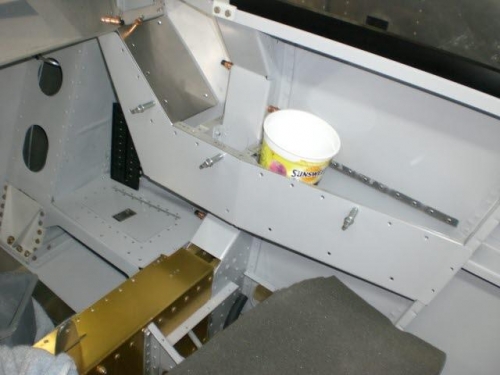
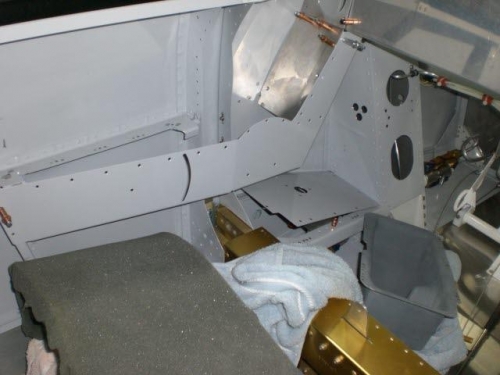
I temporarily attached the console panels to begin to visualize and plan electrical stuff.