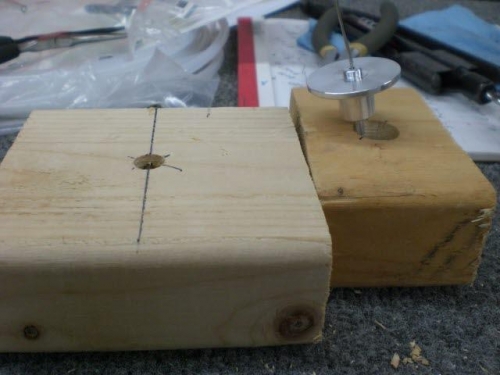
The proseal test proved that the six year old proseal would do the job fine. So I wanted to get the static ports prosealed in place. I wanted to clamp them firmly to allow the proseal to set so I got the thought to use some wooden blocks and drill holes in order to feed some safety wire down the static hole and pull the static ports tight against the fuselage skin.
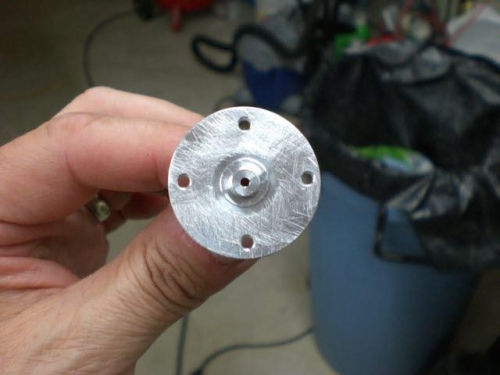
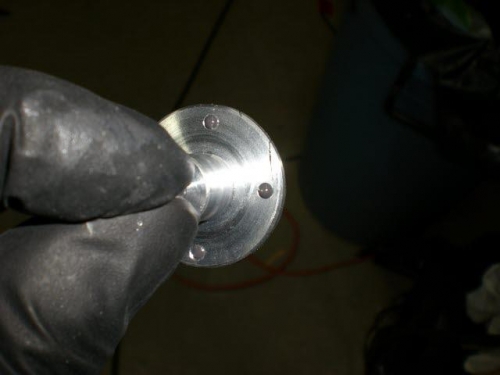
I also drilled four #40 holes to allow the proseal to squeeze through the holes and create four small "proseal rivets" if you would and give it a little more grip.
I needed another set of hands so I asked my wife to come in the basement which she is always ready to assist. So I mixed another batch of proseal and got it spread over the first static port. I then fed the safety wire through the static hole and the interior block. I took the static port and fed it through the skin hole and seated it as well as I could against the skin. Next I slipped the wood block over the tail of the static port so it was seated against the large flange of the static port. My wife held the safety wire while I climbed out of the tail section. Once outside I put the other block on the outside of the skin and twisted the safety wire around the nail which produced a clamping force on the static port and held it firmly in place.
I repeated the process on the other port. I will leave it clamped till tomorrow night.