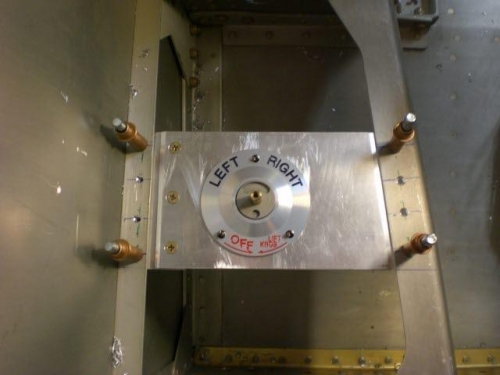
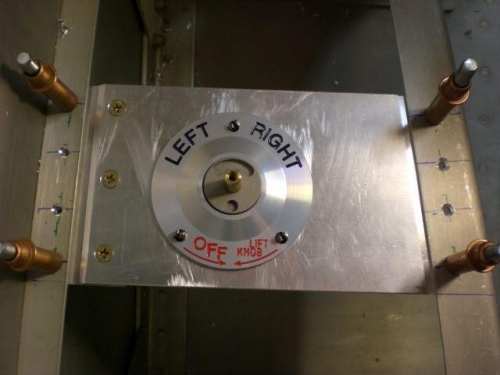
I completed the fuel selector bracket today. I drilled the location for the selector. The instructions state that the max thickness of the bracket can be 1/8 inch. This is mainly for the bezel that fits around the center part of the fuel valve does not rub against the fuel handle. It seemed to be flush but I wanted to have a little clearance so I milled a pocket on the back side of the bracket in order to have the valve sit up a little more and allow a little more clearance.
Next I drilled and countersunk the holes for the rivets to attach the bracket to the airframe. I clecoed the bracket to the airframe and checked everything out. I drilled the three holes for attaching the fuel valve and bezel to the bracket. Everything clecoed in very nicely.
I riveted the nutplates to the selector and all is complete for the time being. I will not rivet the bracket to the airframe until I paint the interior and finish all the fuel lines. I think it came out good and will have room for storage compartments around the selector.