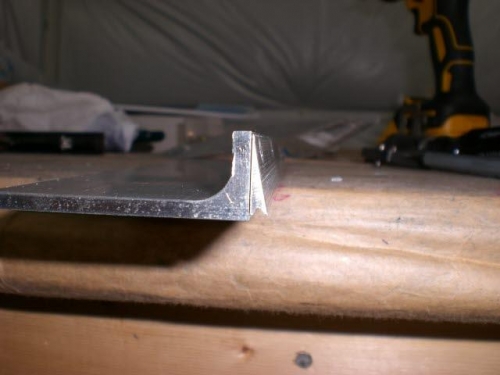
So using two inch angle I machined one side down to fit under the right bottom longeron. I knew that the longeron would not be perpendicular to the battery tray and considered my options. I felt that the best way to resolve the problem was to make a small angle that woud shift the side mount to make it perpendicular to the tray.
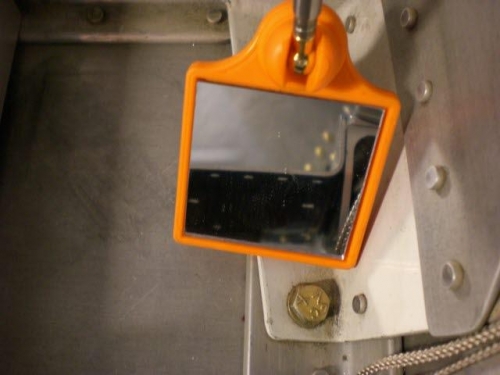
During my pondering it dawned on me that I had some pieces of Vans practice kit in my scrap box. I dug through it and came out with the training edge angle that I knew was in there. I knew it was a long shot that the angle would be the correct one that would work....but I figured it was worth a try. Well to my total amazement when I cut and installed the wedge it was ABSOLUTELY PERFECT! You can see in photo 2 on the far right side of the mirror is the battery tray and the angle perfectly matched and perpendicular! It is great when things just haphazardly work out!
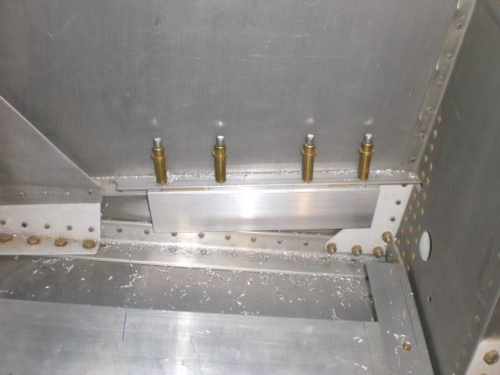
I love double sided sticky tape! I couldn't get cleco clamps or anything else on the parts to hold them for drilling. Using four strips of double sided sticky tape I was able to locate the wedge on the mount and the mount on the longeron. I was then able to use one c-clamp to hold the parts in place in order to support it enough for the drilling pressure. It worked out nicely and got the holes drilled.