Well after life keeping me away from my project for about 2 months I have finally experienced the thrill once again of working on my project. During my hiatus I have done some cleaning up of boxes and general shop area from the empennage build. I am now moving to the QB wings that I purchased and finish up little things that need to be done.
I had sons Derrick and Kevin visit for Labor Day. That was my chance to get the muscle to lift the right wing on the workbench to work on it.
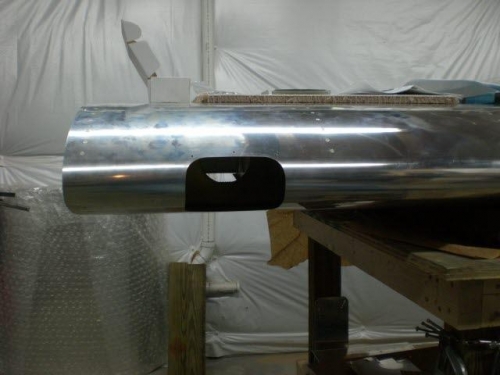
First thing I chose to complete is the right HID light. When I bought the kit it had HID lights for both wings. The left is already installed. I am installing the right side. The cutout in the right wing bay was already completed.
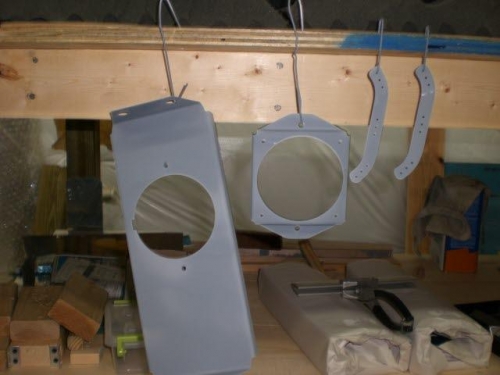
I started by reviewing the insrtuctions for quite a bit to get the process in my head. Then I marked and drilled the holes in the ribs using the template provided with the light kit. Then I installed the 4 10-32 nutplates into the ribs. Then I proceeded to deburr the light parts. As you may know, to do a good job deburring it takes time!!! Deburring is perhaps one of the most tedious parts of building.....and it is very repetitous....plenty to do!
After deburring and cleaning I shot the parts with the primer. That finishes this work session. It really felt good to get back in the shop :0)