A good work day!!! It felt wonderful to put such a good day in on the -8!!! Been so much going on in life there has not been time to work in the shop as much as I yearned. Fortunately rain kept the other house projects at bay....yea rain!
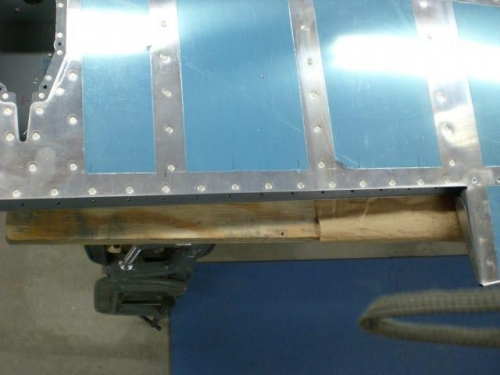
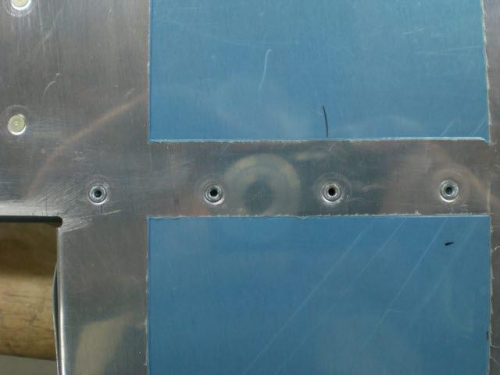
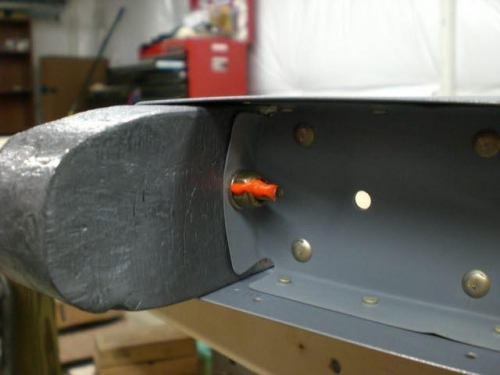
Completed riveting skeleton to E701 skin. Clecoed and riveted E606PP rear elevator trim spar to bottom of elevator skin E701 including blind rivets. Installed and torqued left elevator lead counterweight.
Next I started the trim tab. This is the achilles heel of the left elevator. A lot of builders end up making the trim tab several times before getting it right. I was fortunate in a strange way. When I took the blue plastic off my trim tab in the kit I purchased there was some corrosion in the bend of the trailing edge of the tab. It wasn't paramount and I could have took the time to remove the surface corrosion, prime the tab, and it would have been absolutely fine, but I felt that I was going to use the one with the corrosion to be my practice tab and just buy another skin. Well I mentioned it to my buddy Jim in Dallas and he said he had one that he had bought when he thought he was going to have to build a second one....and he didn't need it....so he shipped it out to me!!! Awesome! So I practiced the trim tab build on the slightly corroded tab. As it turns out I have 2 good trim tabs as the practice one came out fine!(other than the corrosion).
Just a note.....I liked the method that Tony Kelly used for bending the trim tab, here is the VAF link: