Brief Description: Complete wiring for Flood lights
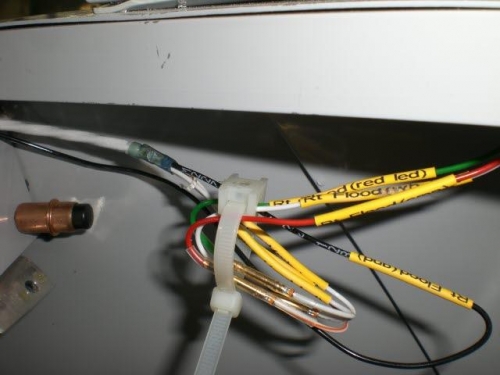
Before moving to the left flood light to label and wire it, I finished the right side and decided to bundle and tie wrap the wires to secure them on the nylon wire tie that I had glued with JB Weld to the underside of the rail. When I started to get the bundle in place and secure the zip tie the nylon wire tie popped off the rail. My friend Jim suggested the JB Weld and said it worked good....so what the hay????
Well....when I put this wire tie in place I remember getting it a little off and "sliding" it a bit to locate it...when I looked at the wire tie it seems that it only had a tiny spot of glue where it was holding. So it was my error(Jim is never wrong! haha) in figuring there was still enough glue on even though I slid it into place. I figured on just perhaps drilling the rail but decided to re-glue the wire tie and clamp it while working on the left side.
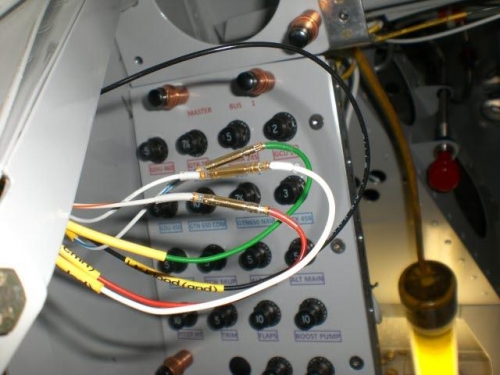
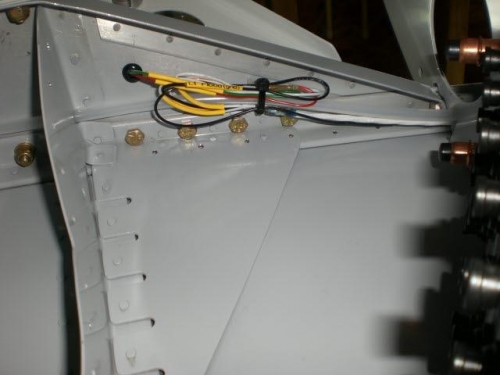
With the glued wire tie clamped and curiing I moved to the labels and wiring for the left flood light. I went throught the same process of labels, pins, checking resistance, connecting and shrink wrapping the D-sub pins. As always there are breaks for chores or other things and I have my note pad that I keep start and stop times for each day so I can get an accurate "build time" for each day. Anyway by the time I was finishing for the day and after several hours the "5 minute epoxy" which is a misnomer for the product was set well enough and I bundled the wires on both sides and secured them with tie wraps.....now on to the next item!