There are several times I agonized over the decision....."Get this one to work" or "Just make a new one" during the build process. It is part of the adventure(not a fun part....but a part nonetheless!)
Last night I decided to make a new one with a slightly new design. The design of the first one was good but if I am going to make a new one I may as well make the change in design I felt would be a positive change. But still wanting to salvage the first one I goofed around with it and tried a couple of things.....finally I decided to make a new one!
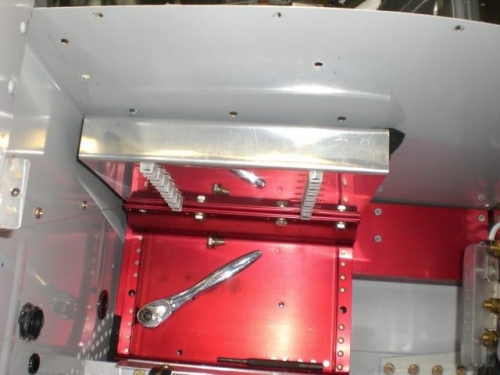
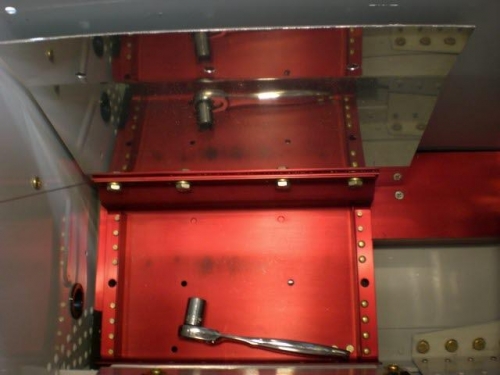
So I cut come more 032 metal from my stock and began the process. Instead of making the two bends to form the top attachment, the new design would have two angles. One angle on the bottom where it attaches to the tray, and one angle on the top wher it attaches to the baggage side wall. I am using the same clearance holes in the baggage wall so I made the adapter to drill the nutplates on the wire tie panel. I simply match drilled the holes in the tie panel from the baggage wall. Then I inserted the nutplates centered on the tie panel with the little jig on the previous log and then it was a matter of drilling and riveting the nutplates.
This panel went on first try. The only compromise is that I can only put 5 rows of nylon tie downs instead of 7 rows.....but that will be very adequate. Will drill and install the ties next session.